Introduction
Transform humble cocoa beans into an unforgettable dark chocolate experience. This recipe elevates the simple act of chocolate making into a sophisticated culinary journey, resulting in a rich, intensely flavored dark chocolate that will tantalize your taste buds and impress even the most discerning palates. Prepare to embark on a delectable adventure, transforming everyday ingredients into a luxurious treat fit for the finest chocolate connoisseur.
Why This Works
This recipe prioritizes the purest expression of dark chocolate’s inherent flavor profile. By carefully controlling the roasting and conching process, we unlock the full potential of the cocoa beans, resulting in a deep, complex flavor that is both intense and elegantly balanced. This method allows for a remarkable depth of taste, surpassing commercially produced chocolates in both quality and character. The ease of the process belies the luxurious results, making it accessible to even the novice chocolatier.
Key Ingredients
🍫 1 pound high-quality unsweetened cocoa beans
💧 1 cup filtered water
🍯 1/2 cup agave nectar (or other preferred liquid sweetener)
🧂 1/4 teaspoon sea salt
Instructions
1️⃣ Roast the Beans: Preheat your oven to 300°F (150°C). Spread the cocoa beans in a single layer on a baking sheet and roast for 15-20 minutes, stirring halfway through, until fragrant and slightly darker in color. The aroma will guide you; it’s a delightful part of the process.
2️⃣ Winnow the Beans: Once cooled, gently crack the roasted beans to release the nibs. Use a mortar and pestle or a food processor to remove the husks, ensuring only the nibs remain. This process, though slightly time-consuming, is crucial for a refined final product.
3️⃣ Grind the Nibs: Transfer the nibs to a food processor and grind them into a fine paste. This will take several minutes, and the paste will become progressively smoother.
4️⃣ Conch the Chocolate: Transfer the paste to a saucepan over low heat. Add water, agave nectar, and salt. Stir constantly, ensuring the mixture does not burn. Continue to stir and cook for at least 30 minutes, or until the chocolate achieves a creamy, glossy consistency, resembling a smooth paste. The longer you conch, the smoother and more refined the flavor will become. Patience is key.
5️⃣ Temper the Chocolate (Optional): For a refined shine and snap, temper the chocolate. This involves carefully heating and cooling the chocolate to specific temperatures to align the cocoa butter crystals, creating a visually stunning and texturally perfect finish. Detailed instructions on tempering can be found in numerous online resources.
6️⃣ Pour and Set: Pour the tempered (or untempered) chocolate into molds. Lightly tap the molds on a surface to remove any air bubbles. Let the chocolate set completely at room temperature.
7️⃣ Unmold and Enjoy: Once set, gently unmold the chocolates and savor the fruits of your labor.
Handy Tips
- Use high-quality cocoa beans for the best flavor.
- A mortar and pestle create a superior texture compared to a food processor for the winnowing process.
- Patience is key in the conching process. The longer you stir, the smoother and more refined the chocolate will be.
- For an extra touch of sophistication, add a pinch of high-quality vanilla bean powder during the conching process.
Heat Control
Maintaining a consistently low heat during the conching process is critical to prevent burning and to allow for the even development of flavor. High heat will scorch the chocolate, resulting in a bitter taste; low heat allows the flavors to meld and develop harmoniously.
Crunch Factor
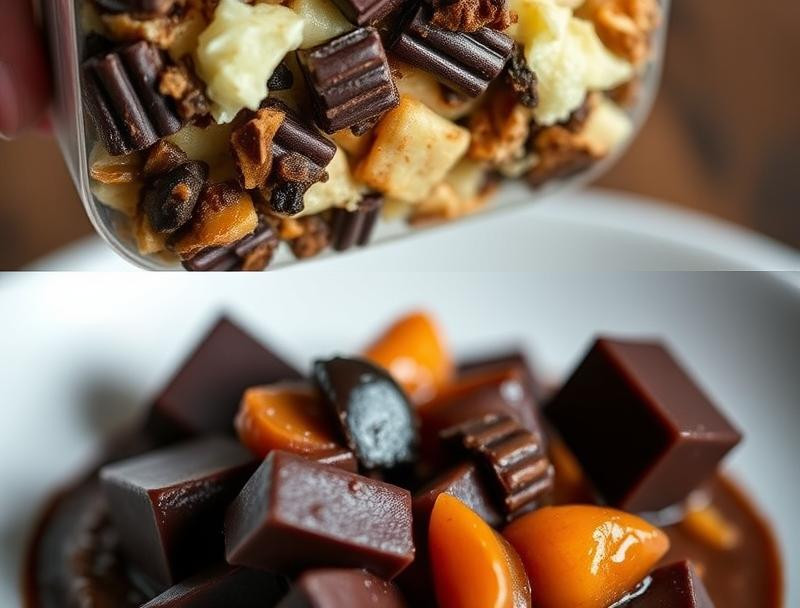
While this recipe produces a smooth, luxurious dark chocolate, you can introduce a pleasing textural contrast by adding finely chopped nuts or sea salt flakes to the mixture before pouring it into the molds.
Pro Kitchen Tricks
- For a quicker conching process, invest in a chocolate conche machine.
- Use a double boiler to maintain consistent low heat during conching.
- Infuse the chocolate with unique flavors by adding spices like chili powder or cardamom during conching.
Storage Tips
Store your homemade dark chocolate in an airtight container in a cool, dark place to maintain its freshness and prevent it from blooming (the appearance of white spots on the surface, which is harmless but affects aesthetic appeal).
Gift Packaging Ideas
Present your decadent dark chocolate in elegant, reusable tins or beautiful handmade boxes adorned with a sophisticated ribbon. A personalized handwritten card adds a touch of class.
Flavor Variations
🌟 Orange Zest: Incorporate finely grated orange zest during the conching process for a bright citrus note.
🌟 Espresso Powder: Enhance the rich chocolate flavor with a dash of espresso powder for an intense coffee undertone.
🌟 Sea Salt Caramel: Swirl a salted caramel filling into the molds for a delightful sweet and salty combination.
🌟 Chili Powder: Add a pinch of chili powder for a subtly spicy kick.
Troubleshooting
- Grainy Texture: This indicates inadequate conching. Increase the conching time to achieve a smoother consistency.
- Burnt Chocolate: This is a result of high heat during conching. Reduce the heat and stir constantly.
- Chocolate Not Setting: Ensure your chocolate is adequately tempered (if you are tempering it). If not, the weather may be too humid; place the molds in the refrigerator for a shorter setting time.
FAQ
- Q: Can I use other types of sweetener? A: Yes, you can experiment with maple syrup, honey, or other liquid sweeteners, but the flavor profile will change.
- Q: How long does the homemade dark chocolate last? A: Properly stored, your chocolate should retain its quality for several months.
- Q: Can I use milk chocolate cocoa beans? A: No, this recipe is specifically for unsweetened dark chocolate. Milk chocolate requires additional ingredients and a different process.
- Q: What is the purpose of conching? A: Conching refines the chocolate, resulting in a smoother texture and a more complex flavor profile through the mixing of ingredients and reducing volatile compounds.
-
Q: Can I make white chocolate using this method? A: No, this method is for dark chocolate. White chocolate requires cocoa butter instead of cocoa beans.
Conclusion
Indulge in the rich, deeply satisfying experience of crafting your own exquisite dark chocolate. This recipe is more than just a set of instructions; it’s an invitation to explore the world of fine chocolate making. Share your delicious creation with loved ones and enjoy the compliments that are sure to follow. Happy chocolate making!
Indulge in Decadence: Crafting the Perfect Dark Chocolate
A rich and smooth dark chocolate recipe that satisfies your sweet tooth and elevates your dessert game.
Ingredients
- 2 cups dark chocolate (70% cocoa or higher)
- 1/2 cup heavy cream
- 1 tablespoon unsalted butter
- 1 teaspoon vanilla extract
- Pinch of sea salt
- 1/4 cup cocoa powder (for dusting)
Instructions
- Step 1: Chop the dark chocolate into small pieces and place it in a heatproof bowl.
- Step 2: In a small saucepan, heat the heavy cream over medium heat until it just begins to simmer.
- Step 3: Pour the hot cream over the chopped chocolate and let it sit for 5 minutes to melt.
- Step 4: Add the butter, vanilla extract, and sea salt to the chocolate mixture, then stir until smooth and glossy.
- Step 5: Pour the mixture into a mold of your choice and refrigerate for at least 1 hour or until set.
- Step 6: Once set, remove the chocolate from the mold and dust with cocoa powder before serving.
Tips
- Use high-quality chocolate for the best flavor and texture.
- Experiment with adding spices like cinnamon or chili powder for a unique twist.