Fruity Pebbles Cheesecake Tacos for Fun Parties
Introduction
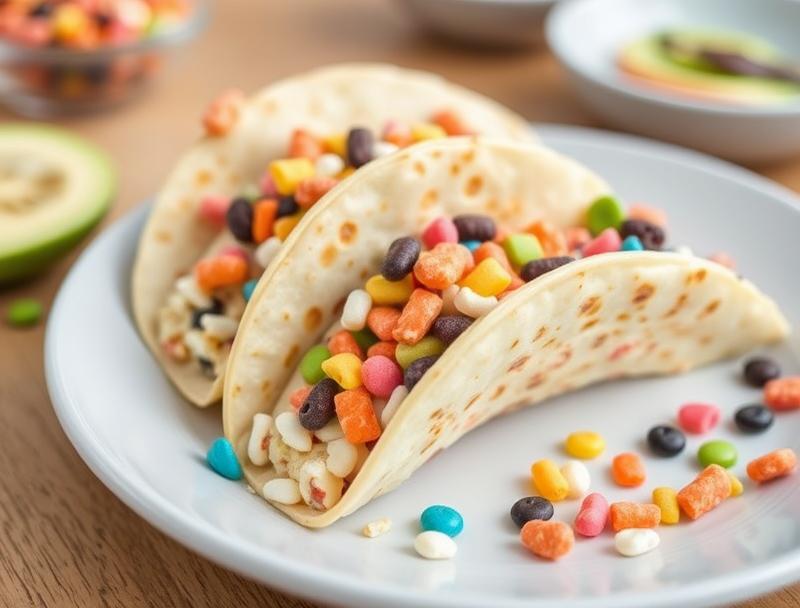
Imagine a dessert that combines the whimsy of childhood cereals with the sophistication of cheesecake, all wrapped up in a fun and playful taco form. Fruity Pebbles Cheesecake Tacos are the perfect treat for any party, whether you’re celebrating a birthday, a graduation, or just a Tuesday. This creative dessert is surprisingly easy to make and requires only a few everyday ingredients, making it accessible to bakers of all skill levels. The best part? It’s a real showstopper, with its bright colors and fun presentation sure to delight both kids and adults alike.
Why This Works
- The combination of creamy cheesecake, crunchy Fruity Pebbles, and crispy taco shells creates a delightful texture balance that will keep your guests coming back for more.
- The use of store-bought taco shells and a simple cheesecake mixture makes this dessert incredibly easy to prepare, even for large groups.
- Despite its ease of preparation, the Fruity Pebbles Cheesecake Tacos are sure to impress your guests with their unique flavor and presentation, making them perfect for special occasions or casual gatherings.
Ingredients
- 1 1/2 cups graham cracker crumbs
- 1/4 cup granulated sugar
- 1/2 cup unsalted butter, melted
- 12 oz cream cheese, softened
- 1/2 cup granulated sugar
- 2 large eggs
- 1 teaspoon vanilla extract
- 1 cup sour cream
- 1 cup Fruity Pebbles cereal
- 12-15 taco shells
- Whipped cream and additional Fruity Pebbles for garnish (optional)
Instructions
- Step 1: Preheat your oven to 350°F (180°C). In a medium bowl, mix together the graham cracker crumbs, sugar, and melted butter until well combined. Press the mixture into the bottom of a 9-inch springform pan. Bake for 10-12 minutes, or until lightly browned. Let cool completely.
- Step 2: In a large mixing bowl, beat the cream cheese until smooth. Add the granulated sugar and beat until combined. Beat in the eggs one at a time, followed by the vanilla extract. Stir in the sour cream until well combined.
- Step 3: Pour the cheesecake mixture into the cooled crust. Bake for 45-50 minutes, or until the edges are set and the center is slightly jiggly. Let cool completely in the pan.
- Step 4: Once the cheesecake is cooled, use a cookie scoop or spoon to portion out small balls of cheesecake. Roll each ball in a plate of Fruity Pebbles to coat. Place a coated cheesecake ball into each taco shell. Serve immediately, garnished with whipped cream and additional Fruity Pebbles if desired.
Handy Tips
- To ensure that your cheesecake sets properly, make sure to not overmix the batter and to not open the oven door during the baking time.
- If you find that your Fruity Pebbles are not sticking to the cheesecake, try dipping the cheesecake ball in a little bit of melted white chocolate before rolling it in the cereal.
- Consider using a variety of colorful cereals to create a fun and unique look for your tacos.
Heat Control
When baking the crust and cheesecake, it’s essential to keep an eye on the temperature and timing to ensure that everything turns out perfectly. The crust should be lightly browned and firm to the touch, while the cheesecake should be set around the edges and slightly jiggly in the center. Avoid overbaking, as this can cause the cheesecake to dry out and crack.
Crunch Factor
The crunch factor in these tacos comes from the Fruity Pebbles cereal and the taco shells. To ensure that your tacos have the perfect amount of crunch, make sure to not overcoat the cheesecake with cereal, and to use fresh taco shells that have not become stale or soft.
Pro Kitchen Tricks
- To make your cheesecake more stable and easier to handle, try freezing it for about 30 minutes before portioning it out into balls.
- Use a variety of colorful cereals to create a fun and unique look for your tacos.
- Consider using a cookie scoop to portion out the cheesecake, as this will help you to get uniform balls that are the perfect size for your tacos.
Storage Tips
- Once assembled, the tacos are best served immediately. However, you can store the cheesecake balls in an airtight container in the refrigerator for up to 24 hours.
- To freeze the cheesecake balls, place them on a baking sheet lined with parchment paper and freeze until solid. Transfer the frozen balls to an airtight container or freezer bag for up to 2 months.
- When storing the tacos, make sure to keep them away from strong-smelling foods, as the cheesecake can absorb odors easily.
Gift Packaging Ideas
If you’re looking to give these tacos as a gift, consider packaging them in a colorful box or bag with a clear plastic window. You could also include a few extra Fruity Pebbles and a small bottle of whipped cream to make the gift even more special. For a more rustic look, try packaging the tacos in a paper bag or cone with a ribbon tie.
Flavor Variations
- Try using different types of cereal, such as Cinnamon Toast Crunch or Lucky Charms, to create a unique flavor and texture.
- Add a few drops of food coloring to the cheesecake batter to create a fun and colorful look.
- Use different types of milk or cream to create a unique flavor and texture in the cheesecake.
Troubleshooting
- If your cheesecake cracks, try using a water bath to bake it, or make sure to not overmix the batter.
- If your Fruity Pebbles are not sticking to the cheesecake, try dipping the cheesecake ball in a little bit of melted white chocolate before rolling it in the cereal.
- If your tacos are too sweet, try reducing the amount of sugar in the cheesecake batter or using a less sweet cereal.
FAQs
- Can I freeze the cheesecake balls? Yes, you can freeze the cheesecake balls for up to 2 months. Simply place them on a baking sheet lined with parchment paper and freeze until solid. Transfer the frozen balls to an airtight container or freezer bag.
- Is this recipe gluten-free? No, this recipe is not gluten-free due to the use of graham cracker crumbs and wheat-based cereals. However, you can try substituting the graham cracker crumbs with a gluten-free alternative and using a gluten-free cereal to make the recipe gluten-free.
- Can I double the recipe? Yes, you can double the recipe to make more tacos. Simply multiply all of the ingredients by two and follow the same instructions.
Conclusion
Fruity Pebbles Cheesecake Tacos are a fun and creative dessert that is perfect for any party or gathering. With their unique flavor and presentation, they are sure to delight both kids and adults alike. Whether you’re a seasoned baker or a beginner, this recipe is easy to follow and requires only a few everyday ingredients. So why not give it a try and see what you think? With a little bit of creativity and some simple ingredients, you can create a dessert that is truly unforgettable.
Fruity Pebbles Cheesecake Tacos for Fun Parties
A fun and creative dessert that combines the whimsy of childhood cereals with the sophistication of cheesecake, all wrapped up in a fun and playful taco form.
🥘 Ingredients
👩🍳 Instructions
-
1Preheat oven to 350°F (180°C). Mix together graham cracker crumbs, sugar, and melted butter. Press into the bottom of a 9-inch springform pan. Bake for 10-12 minutes, or until lightly browned.
-
2Beat cream cheese until smooth. Add granulated sugar and beat until combined. Beat in eggs one at a time, followed by vanilla extract. Stir in sour cream until well combined.
-
3Pour cheesecake mixture into cooled crust. Bake for 45-50 minutes, or until edges are set and center is slightly jiggly.
-
4Portion out small balls of cheesecake. Roll each ball in a plate of Fruity Pebbles to coat. Place a coated cheesecake ball into each taco shell.