Irresistible Raspberry Bars Recipe
Introduction
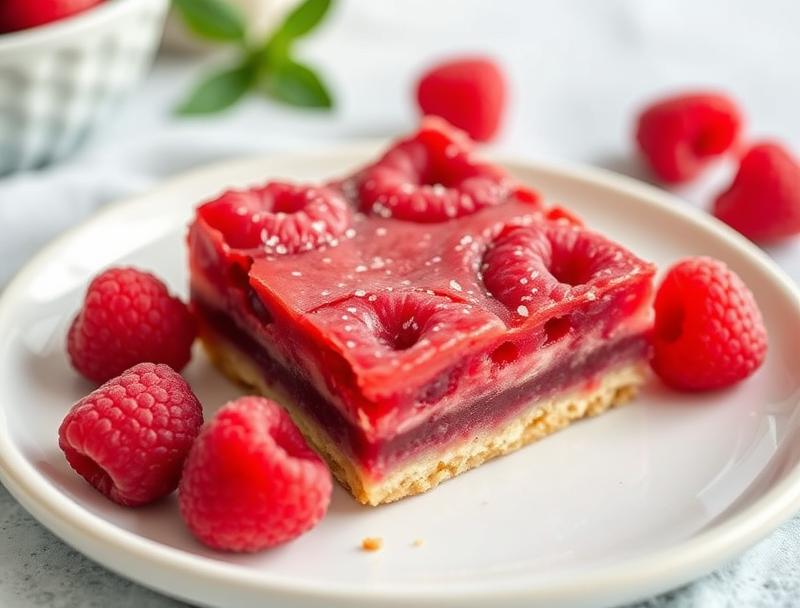
Imagine a dessert that’s as easy to make as it is impressive to serve: a perfect balance of sweet and tart, with a crumbly crust and a burst of fresh flavor in every bite. Welcome to the Irresistible Raspberry Bars Recipe, where simplicity meets sophistication and the result is nothing short of magical. Using everyday ingredients, this recipe transforms the humble raspberry into a culinary masterpiece that’s perfect for any occasion, from casual gatherings to special celebrations. With its ease of preparation, creative use of ingredients, and the promise of impressive results with minimal effort, this recipe is set to become your new favorite dessert to make and share.
Why This Works
- The balance of flavors, combining the sweetness of sugar, the tartness of raspberries, and the richness of butter, creates a dish that’s both familiar and exciting.
- The accessibility of the ingredients means you can whip up these bars at a moment’s notice, without needing to hunt down exotic or hard-to-find components.
- The simplicity of preparation belies the impressive results, making this a go-to recipe for those who want to wow without slaving away in the kitchen.
Ingredients
- 2 cups fresh raspberries
- 1 cup granulated sugar
- 1/4 cup all-purpose flour
- 1/2 cup rolled oats
- 1/2 cup brown sugar
- 1/2 cup cold unsalted butter, cut into small pieces
- 1 teaspoon vanilla extract
- 1/4 teaspoon salt
- 1 egg, beaten (for egg wash)
Instructions
- Step 1: Prepare the Crust – Preheat your oven to 375°F (190°C). In a medium bowl, mix together the flour, oats, brown sugar, and salt. Add the cold butter and use your fingers or a pastry blender to work it into the dry ingredients until the mixture resembles coarse crumbs.
- Step 2: Press the Crust – Press the crust mixture into the bottom of a 9×9-inch baking dish. Brush the top of the crust with the beaten egg for a golden glaze.
- Step 3: Bake the Crust – Bake the crust for 20-25 minutes, or until it’s lightly golden. Let it cool completely.
- Step 4: Prepare the Filling – In a large bowl, mix the raspberries and granulated sugar. Let it sit for about 15 minutes, until the raspberries start to release their juice and the mixture becomes syrupy.
- Step 5: Assemble and Bake – Spread the raspberry mixture over the cooled crust. In a small bowl, mix the vanilla extract with the raspberry mixture. Bake for an additional 35-40 minutes, or until the filling is bubbly and the crust is golden brown.
- Step 6: Cool and Cut – Let the bars cool completely in the pan before cutting into squares and serving.
Handy Tips
- For an extra crunchy crust, try adding a handful of chopped nuts or seeds to the crust mixture before baking.
- If using frozen raspberries, make sure to thaw them first and pat dry with a paper towel to remove excess moisture.
- Don’t overmix the crust or the filling, as this can lead to tough or dense bars.
Heat Control
Keeping an eye on the temperature and timing is crucial. The crust should be baked at 375°F (190°C) for 20-25 minutes, and the filled bars should be baked at the same temperature for 35-40 minutes. Look for the crust to be lightly golden and the filling to be bubbly, signaling that the bars are done.
Crunch Factor
Achieving the perfect crunch in these raspberry bars comes down to the crust. By using a mixture of oats and brown sugar, and not overbaking, you can ensure a delightful textural contrast to the soft, fruity filling. For an extra crunch, consider adding some chopped nuts or seeds to the crust mixture before baking.
Pro Kitchen Tricks
- Use high-quality ingredients, like fresh raspberries and real vanilla extract, to elevate the flavor of your bars.
- Don’t skip the step of cooling the crust completely before adding the filling, as this helps prevent the crust from becoming soggy.
- For easier cutting, refrigerate the bars for about 30 minutes before slicing into squares.
Storage Tips
- Store the cooled bars in an airtight container at room temperature for up to 3 days.
- For longer storage, consider freezing the bars. Place them in a single layer in a freezer-safe bag or container and store for up to 2 months. Thaw at room temperature or refrigerate overnight.
- When reheating, simply place the desired number of bars on a baking sheet and warm in a 350°F (180°C) oven for a few minutes, or until warmed through.
Gift Packaging Ideas
These raspberry bars are perfect for gifting, especially when packaged with a personal touch. Consider placing a few bars in a decorative tin or jar, wrapping them in colorful paper or fabric, and adding a ribbon or gift tag. For a more rustic look, wrap the bars individually in parchment paper and tie with twine. Whatever method you choose, the recipient is sure to appreciate the thought and deliciousness behind your gift.
Flavor Variations
- Try using different types of berries, like blueberries, strawberries, or blackberries, for a unique twist on the classic recipe.
- Add a sprinkle of cinnamon or nutmeg on top of the bars before baking for an extra depth of flavor.
- Swap out the vanilla extract for a different flavor, like almond or lemon, to complement the raspberries.
Troubleshooting
- If your crust turns out too dense, it may be due to overmixing. Try to mix the ingredients just until they come together in the future.
- If the filling is too runny, it could be because the raspberries were too juicy. Consider mixing in a little more flour or cornstarch to thicken the filling next time.
- If the bars are overcooked, they might be too dry. Keep an eye on the baking time and temperature to ensure the bars are cooked just right.
FAQs
- Can I freeze the bars? Yes, the bars can be frozen for up to 2 months. Simply place them in a single layer in a freezer-safe bag or container and store.
- Is this recipe gluten-free? The recipe as written contains gluten due to the all-purpose flour. However, you can try substituting the flour with a gluten-free alternative to make the bars gluten-free.
- Can I double the recipe? Yes, you can easily double the recipe to make a larger batch of bars. Just keep in mind that you may need to adjust the baking time slightly.
Conclusion
With the Irresistible Raspberry Bars Recipe, you’re not just making a dessert; you’re creating an experience. Whether you’re a seasoned baker or just starting out, this recipe is designed to guide you through the process with ease, ensuring that every bite is a testament to the power of simple, high-quality ingredients and thoughtful preparation. So go ahead, share these bars with friends and family, experiment with new flavors, and enjoy the joy of baking that comes with every delicious batch.
Irresistible Raspberry Bars Recipe
A sweet and tangy dessert bar filled with fresh raspberries and topped with a crunchy oat crust.
🥘 Ingredients
👩🍳 Instructions
-
1Preheat oven to 375°F (190°C).
-
2Prepare the crust by mixing flour, oats, brown sugar, and salt. Add cold butter and mix until crumbly.
-
3Press the crust mixture into a 9x9-inch baking dish and brush with beaten egg for a golden glaze.
-
4Bake the crust for 20-25 minutes, then let it cool completely.
-
5Prepare the filling by mixing raspberries and granulated sugar. Let it sit for 15 minutes until the raspberries release their juice.
-
6Assemble the bars by spreading the raspberry mixture over the cooled crust and baking for an additional 35-40 minutes.
-
7Let the bars cool completely in the pan before cutting into squares and serving.