Easy Pizza Pockets: Cheesy Homemade Lunch
Introduction
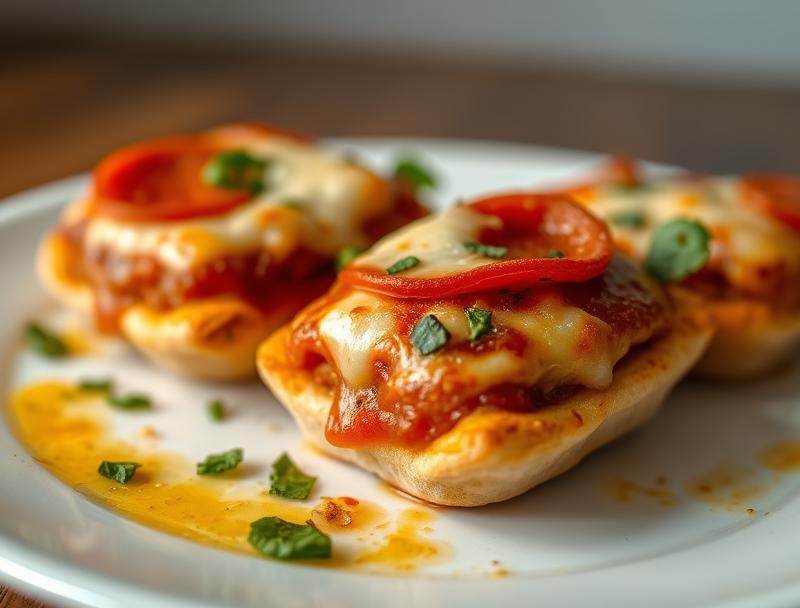
Imagine a lunch that’s not only delicious but also incredibly easy to make, using everyday ingredients that you likely have in your pantry. Easy Pizza Pockets are the perfect solution for a quick, cheesy, and satisfying meal that can be customized to your taste preferences. These homemade treats are filled with the flavors of pizza, wrapped in a crispy pocket that’s sure to please both kids and adults alike. With minimal preparation and cooking time, you can have a hot, cheesy pizza pocket in your hands in no time, making it an ideal option for busy days or as a fun project to make with the family.
Why This Works
- Flavor balance and ingredient accessibility: The combination of melted cheese, savory sauce, and various toppings creates a flavor profile that’s hard to resist, and the best part is that you can use ingredients you already have at home.
- Ease of preparation: The process of making pizza pockets is straightforward and doesn’t require any special cooking skills, making it accessible to anyone who wants to give it a try.
- Impressive results with minimal effort: Despite the simplicity of the recipe, the end result is impressive and satisfying, perfect for a family lunch, a quick snack, or even as part of a party menu.
Ingredients
- 1 package of pizza dough (homemade or store-bought)
- 1 cup of pizza sauce
- 2 cups of shredded mozzarella cheese
- 1/2 cup of shredded parmesan cheese
- Toppings of your choice (e.g., pepperoni, bell peppers, onions, mushrooms, olives)
- 1 egg, beaten (for egg wash)
- Salt and pepper, to taste
- Olive oil, for brushing
Instructions
- Step 1: Preheat your oven to 400°F (200°C). Roll out the pizza dough to a thickness of about 1/4 inch. Cut out squares of dough, approximately 4 inches by 4 inches.
- Step 2: Place a tablespoon or two of pizza sauce in the center of each square, leaving a 1/2 inch border around the edges. Add your desired toppings and a sprinkle of mozzarella and parmesan cheese.
- Step 3: Fold the dough squares in half over the filling to form triangles or rectangles, pressing the edges together to seal the pizza pocket. Use a fork to crimp the edges and ensure they are tightly sealed.
- Step 4: Brush the tops of the pizza pockets with the beaten egg for a golden glaze and cut a small slit in the top of each pocket to allow steam to escape. Place the pockets on a baking sheet lined with parchment paper, leaving about 1 inch of space between each pocket. Drizzle with a little olive oil and sprinkle with salt and pepper to taste. Bake for 15-20 minutes, or until the crust is golden brown and the cheese is melted and bubbly.
Handy Tips
- Make sure to seal the pockets well to prevent the filling from escaping during baking. If a pocket opens during baking, you can try to close it with a toothpick or a small piece of dough.
- Don’t overfill the pockets, as this can make them difficult to seal and may result in filling spillage during baking.
- Experiment with different toppings and combinations to find your favorite. Consider vegetarian options, meat lovers, or a mix of both.
Heat Control
The ideal baking temperature for pizza pockets is 400°F (200°C), and they should be baked for 15-20 minutes. It’s essential to keep an eye on them after 12 minutes, as the baking time may vary depending on the size of your pockets and your oven’s performance. The pockets are done when the crust is golden brown, and the cheese is melted and bubbly. If you prefer a crisper crust, you can bake them for an additional 2-3 minutes, but be careful not to overcook.
Crunch Factor
To achieve a crispy crust on your pizza pockets, make sure the oven is preheated to the correct temperature, and the pockets are baked for the recommended time. Brushing the tops with olive oil before baking also helps to enhance the crunchiness of the crust. If you prefer a softer crust, you can cover the baking sheet with foil for the last 5 minutes of baking to prevent over-browning.
Pro Kitchen Tricks
- For an extra crispy crust, try baking the pizza pockets on a baking stone or a cast-iron skillet preheated in the oven.
- Use a variety of cheeses for a richer flavor profile. Mozzarella provides melt, while parmesan adds a salty, nutty taste.
- Keep your toppings finely chopped to ensure they cook evenly and quickly.
Storage Tips
- Pizza pockets can be stored in an airtight container in the refrigerator for up to 3 days. Reheat them in the oven at 350°F (175°C) for about 5-7 minutes, or until warmed through.
- For longer storage, pizza pockets can be frozen before baking. Simply place them on a baking sheet lined with parchment paper, making sure they don’t touch each other, and put the sheet in the freezer. Once frozen, transfer the pockets to a freezer-safe bag or container for up to 2 months. Bake frozen pockets at 400°F (200°C) for an additional 5-10 minutes, or until golden brown and cooked through.
Gift Packaging Ideas
If you’re considering gifting your homemade pizza pockets, you can package them in a variety of creative ways. For freshly baked pockets, consider wrapping them individually in parchment paper or aluminum foil and placing them in a gift basket or a decorative tin. For frozen pockets, you can place them in a freezer-safe bag or container and add a gift tag with baking instructions. Adding a side of marinara sauce or a green salad can make the gift even more special.
Flavor Variations
- Different spices: Try adding some dried oregano, basil, or red pepper flakes to the dough or the filling for a unique twist.
- Creative toppings: Experiment with various meats (pepperoni, sausage, bacon), vegetables (bell peppers, onions, mushrooms), and cheeses (feta, goat cheese, ricotta) to find your perfect combination.
- Ingredient swaps: For a gluten-free version, use gluten-free pizza dough. For a vegetarian option, load up on the veggies and skip the meat. For a vegan version, use vegan cheese and skip the egg wash.
Troubleshooting
- Texture problems: If your crust turns out too hard, it might be overbaked. If it’s too soft, it might not have been baked long enough. Adjust the baking time as needed for your next batch.
- Ingredient replacements: If you’re missing an ingredient, consider what you have on hand that could serve as a substitute. For example, if you don’t have mozzarella, you could use another melting cheese like cheddar or provolone.
- Over/undercooking signs: Keep an eye on your pizza pockets while they’re baking. If they’re getting too brown, cover them with foil to prevent burning. If they’re not browning, give them a few more minutes.
FAQs
- Can I freeze it? Yes, pizza pockets can be frozen before baking. Simply place them on a baking sheet, freeze, and then transfer them to a freezer-safe bag or container.
- Is it gluten-free? Not unless you use gluten-free pizza dough. Regular pizza dough contains gluten, making it unsuitable for those with gluten intolerance or sensitivity.
- Can I double the recipe? Absolutely. Simply double all the ingredients and follow the same instructions. You might need to bake the pockets in batches depending on the size of your oven.
Conclusion
Making Easy Pizza Pockets is a fun and rewarding experience that allows you to get creative with your ingredients and satisfy your cravings for something cheesy and delicious. Whether you’re a busy parent looking for a quick lunch idea, a college student seeking a comforting meal, or just someone who loves pizza, these homemade pockets are sure to hit the spot. Feel free to experiment with different toppings and ingredients to make the recipe your own, and don’t hesitate to share your creations with friends and family. Happy baking, and enjoy your delicious homemade pizza pockets!
Easy Pizza Pockets: Cheesy Homemade Lunch
A simple and delicious recipe for homemade pizza pockets filled with cheese, sauce, and your choice of toppings, perfect for a quick lunch or snack.
🥘 Ingredients
👩🍳 Instructions
-
1Preheat the oven to 400°F (200°C).
-
2Roll out the pizza dough and cut into squares.
-
3Add a spoonful of pizza sauce, toppings, and cheese to the center of each square.
-
4Fold the dough over the filling, press the edges to seal, and brush with egg wash.
-
5Bake for 15-20 minutes, or until golden brown.