Easy Cherry Cream Cheese Mini Pies (So Cute & Crazy Delicious!)
Introduction
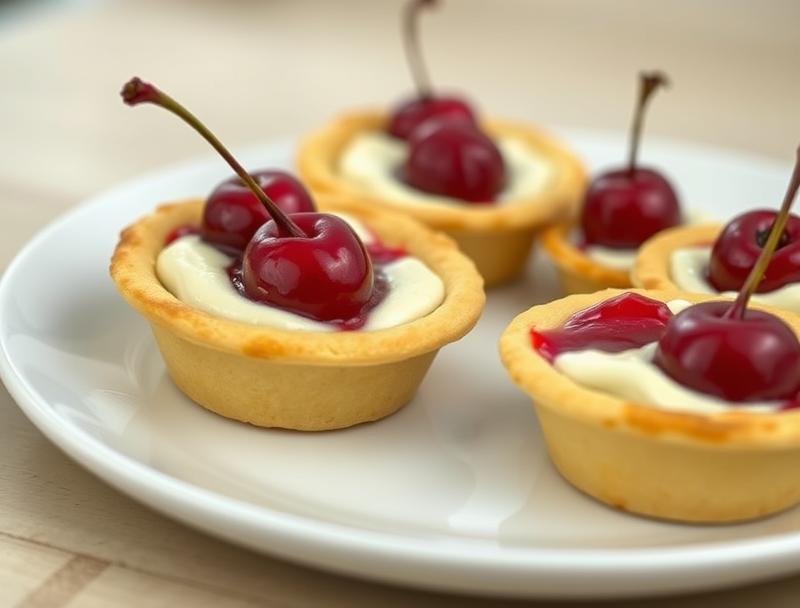
Imagine a dessert that combines the sweetness of cherries with the tanginess of cream cheese, all wrapped up in a miniature pie crust. Sounds too good to be true? Think again! These Easy Cherry Cream Cheese Mini Pies are not only adorable, but they’re also incredibly delicious and easy to make. Using everyday ingredients, you can create a show-stopping dessert that’s perfect for any occasion. Whether you’re a seasoned baker or a beginner in the kitchen, this recipe is sure to impress. So, let’s dive in and explore the world of mini pies!
Why This Works
- The combination of cherry and cream cheese provides a perfect balance of flavors, with the sweetness of the cherries complemented by the tanginess of the cream cheese.
- The use of pre-made pie crusts and a simple filling makes this recipe incredibly easy to prepare, even for those with limited baking experience.
- The mini size of the pies makes them perfect for parties, gatherings, or as a sweet treat any time of the day. They’re also incredibly impressive, considering how little effort is required to make them.
Ingredients
- 1 package of frozen puff pastry, thawed
- 1/2 cup of cream cheese, softened
- 1/4 cup of granulated sugar
- 1/2 cup of cherry jam or preserves
- 1 cup of fresh or frozen cherries, pitted
- 1 tablespoon of vanilla extract
- 1/4 teaspoon of salt
- 1 egg, beaten (for egg wash)
- Confectioners’ sugar (for dusting)
Instructions
- Step 1: Preheat your oven to 400°F (200°C). Line a baking sheet with parchment paper.
- Step 2: Roll out the puff pastry on a floured surface to about 1/8 inch thickness. Cut out small squares, about 3 inches (7.5 cm) per side.
- Step 3: In a small bowl, mix together the cream cheese, granulated sugar, and vanilla extract until smooth. Spoon a small amount of the cream cheese mixture onto one half of each pastry square, leaving a 1/2 inch border around the edges.
- Step 4: Top the cream cheese mixture with a few cherries and a dollop of cherry jam. Fold the other half of the pastry square over the filling, pressing the edges to seal. Use a fork to crimp the edges and create a decorative border.
- Step 5: Brush the tops of the pies with the beaten egg for a golden glaze. Cut a small slit in the top of each pie to allow steam to escape.
- Step 6: Place the pies on the prepared baking sheet, leaving about 1 inch of space between each pie. Bake for 20-25 minutes, or until the pastry is golden brown.
- Step 7: Allow the pies to cool on a wire rack for 10-15 minutes before dusting with confectioners’ sugar. Serve warm and enjoy!
Handy Tips
- Make sure to keep the puff pastry cold, as this will help it to hold its shape and prevent it from becoming too soft and difficult to work with.
- Don’t overfill the pies, as this can cause them to burst open during baking. Leave a small border around the edges to allow for expansion.
- If using frozen cherries, make sure to thaw them first and pat dry with a paper towel to remove excess moisture.
Heat Control
To achieve the perfect golden brown color on your mini pies, make sure to bake them at the correct temperature (400°F or 200°C) for the recommended amount of time (20-25 minutes). Keep an eye on them after 15 minutes, as the baking time may vary depending on the size of your pies and your oven.
Crunch Factor
The puff pastry crust on these mini pies should be flaky and crispy, with a delicate crunch that gives way to a soft and creamy filling. To achieve this, make sure to not overwork the pastry dough, and keep it cold until you’re ready to bake. The egg wash will also help to create a golden brown color and a crispy texture.
Pro Kitchen Tricks
- Use a pastry brush to apply the egg wash, as this will help to create a smooth and even glaze.
- Don’t be afraid to get creative with your filling ingredients – try using different types of jam or preserves, or adding a sprinkle of cinnamon or nutmeg for extra flavor.
- To make the pies more impressive, try using a cookie cutter to cut out fun shapes from the puff pastry before filling and baking.
Storage Tips
- These mini pies are best served fresh, but they can be stored in an airtight container in the refrigerator for up to 2 days.
- To freeze, place the baked pies on a baking sheet lined with parchment paper and freeze until solid. Transfer the frozen pies to a freezer-safe bag or container and store for up to 2 months. To thaw, simply leave at room temperature for a few hours or reheat in the oven at 350°F (180°C) for 5-10 minutes.
Gift Packaging Ideas
These mini pies are perfect for gifting, and can be packaged in a variety of ways to make them even more special. Try placing them in a decorative tin or box, or wrapping them individually in cellophane bags and tying with a ribbon. You could also create a gift basket filled with a variety of mini pies, along with a few other sweet treats and a personalized note.
Flavor Variations
- Try using different types of jam or preserves, such as strawberry or raspberry, for a unique flavor twist.
- Add a sprinkle of cinnamon or nutmeg to the filling for extra spice and warmth.
- Use fresh or dried fruit, such as cranberries or blueberries, to create a fruity and flavorful filling.
Troubleshooting
- If your pies are not turning out golden brown, try increasing the oven temperature or baking time. However, be careful not to overbake, as this can cause the pastry to become too dark and crispy.
- If the filling is too runny, try adding a little more cream cheese or jam to thicken it up. If it’s too thick, try adding a little more cherry juice or water.
- If the pastry is too soft or difficult to work with, try refrigerating it for 10-15 minutes to firm it up before rolling out and cutting.
FAQs
- Can I freeze the pies before baking? Yes, you can freeze the pies before baking. Simply place them on a baking sheet lined with parchment paper and freeze until solid, then transfer to a freezer-safe bag or container and store for up to 2 months. To bake, simply place the frozen pies on a baking sheet lined with parchment paper and bake at 400°F (200°C) for 25-30 minutes, or until golden brown.
- Is this recipe gluten-free? No, this recipe is not gluten-free, as it uses puff pastry which contains wheat flour. However, you can try using a gluten-free pastry dough or crust to make the recipe gluten-free.
- Can I double the recipe? Yes, you can double the recipe to make more mini pies. Simply multiply all the ingredients by two and follow the same instructions as before.
Conclusion
And there you have it – a simple and delicious recipe for Easy Cherry Cream Cheese Mini Pies that’s perfect for any occasion. With their flaky puff pastry crust, creamy filling, and sweet cherry topping, these mini pies are sure to impress your friends and family. So go ahead, get creative, and enjoy the process of making these adorable little treats. Happy baking!
Easy Cherry Cream Cheese Mini Pies (So Cute & Crazy Delicious!)
A simple and delicious recipe for mini pies filled with cherry and cream cheese, perfect for any occasion.
🥘 Ingredients
👩🍳 Instructions
-
1Preheat the oven to 400°F (200°C).
-
2Roll out the puff pastry on a floured surface to about 1/8 inch thickness.
-
3Cut out small squares, about 3 inches (7.5 cm) per side.
-
4Spoon a small amount of the cream cheese mixture onto one half of each pastry square, leaving a 1/2 inch border around the edges.
-
5Top the cream cheese mixture with a few cherries and a dollop of cherry jam.
-
6Fold the other half of the pastry square over the filling, pressing the edges to seal.
-
7Brush the tops of the pies with the beaten egg for a golden glaze.
-
8Bake the pies for 20-25 minutes, or until the pastry is golden brown.