Buttermilk Fried Chicken: Crispy & Spicy Stovetop Recipe
Introduction
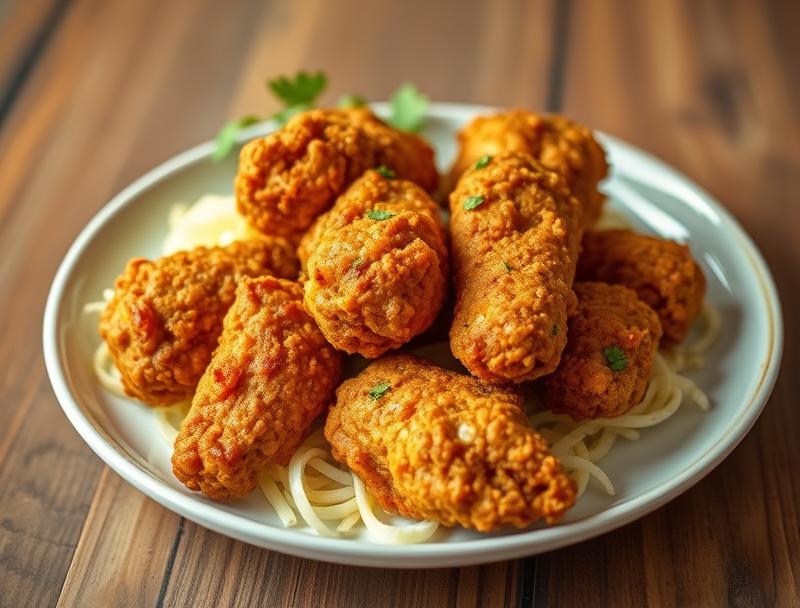
Imagine sinking your teeth into a piece of fried chicken that’s so crispy on the outside, it gives way to a juicy, tender interior, all while bursting with spicy and tangy flavors. This Buttermilk Fried Chicken recipe is not just a meal, it’s an experience. Using everyday ingredients and a simple stovetop method, you can create a dish that’s both comforting and impressive. The beauty of this recipe lies in its accessibility and the room it leaves for creativity, allowing you to make it your own with just a few tweaks. Whether you’re a seasoned chef or a beginner in the kitchen, this recipe is sure to become a favorite.
Why This Works
- Flavor balance and ingredient accessibility: The combination of buttermilk, spices, and a light coating creates a perfect balance of flavors. Moreover, the ingredients are easily found in most supermarkets, making this dish accessible to everyone.
- Ease of preparation: The steps are straightforward, and the preparation time is minimal, making it perfect for a weeknight dinner or a weekend meal with family and friends.
- Impressive results with minimal effort: Despite the simplicity of the recipe, the end result is impressive. The crispy exterior and juicy interior, combined with the depth of flavor, will make it seem like you’ve spent hours in the kitchen.
Ingredients
- 2 lbs chicken pieces (legs, thighs, wings, and breasts), skin removed
- 1 cup buttermilk
- 1 tsp hot sauce (such as Frank’s RedHot)
- 1 tsp garlic powder
- 1 tsp onion powder
- 1 tsp paprika
- 1 tsp salt
- 1/2 tsp black pepper
- 1/4 tsp cayenne pepper (optional, for some heat)
- 1 cup all-purpose flour
- Vegetable oil, for frying
Instructions
- Step 1: In a large bowl, whisk together the buttermilk, hot sauce, garlic powder, onion powder, paprika, salt, black pepper, and cayenne pepper (if using). Add the chicken pieces and mix well to coat. Cover the bowl with plastic wrap and refrigerate for at least 2 hours or overnight.
- Step 2: In a separate large bowl, place the flour. Remove the chicken from the buttermilk mixture, allowing any excess to drip off. Dredge the chicken pieces in the flour, shaking off any excess.
- Step 3: Heat about 1/2-inch of vegetable oil in a large skillet over medium-high heat until it reaches 350°F. Carefully place 3-4 pieces of the coated chicken into the hot oil. Do not overcrowd the skillet. Fry for 5-7 minutes on each side or until the chicken reaches a golden brown and the internal temperature reaches 165°F. Repeat with the remaining chicken pieces.
- Step 4: Once fried, place the chicken on a paper towel-lined plate to drain any excess oil. Serve hot and enjoy!
Handy Tips
- For an extra crispy coating, you can chill the floured chicken pieces in the refrigerator for 30 minutes before frying.
- If you don’t have buttermilk, you can make a substitute by mixing 1 cup of milk with 1 tbsp of white vinegar or lemon juice. Let it sit for 5-10 minutes before using.
- Adjust the level of heat in your chicken by adding more or less cayenne pepper, or by using different types of hot sauce.
Heat Control
Maintaining the right temperature is crucial for frying. The ideal temperature for frying chicken is between 350°F and 375°F. If the oil is too hot, the exterior will burn before the interior is fully cooked. If it’s too cold, the chicken will absorb too much oil. Use a thermometer to monitor the temperature, and never leave frying oil unattended.
Crunch Factor
The crunch factor in fried chicken comes from the coating. To achieve a crunchy exterior, make sure to not overmix the flour coating, and pat the chicken dry with paper towels before coating to remove excess moisture. Also, frying at the right temperature helps in achieving the perfect crunch.
Pro Kitchen Tricks
- For less mess, set up a dredging station with the flour and a plate for the coated chicken, making it easier to manage the coating process.
- Use a spider or a slotted spoon to carefully place and remove the chicken from the hot oil, reducing the risk of splashing oil.
- Don’t overcrowd the skillet. Frying in batches ensures that each piece of chicken has enough room to cook evenly and prevents the oil temperature from dropping too low.
Storage Tips
- Fried chicken is best served immediately, but if you need to store it, let it cool completely on a wire rack, then place it in an airtight container in the refrigerator for up to 2 days.
- To reheat, place the chicken on a baking sheet lined with parchment paper and bake in a preheated oven at 400°F for about 10-15 minutes, or until heated through.
Gift Packaging Ideas
While fried chicken is typically not considered a gift food, if you’re looking to share some with friends or family, consider packaging it in paper cones or boxes lined with parchment paper. You can also include a side of your favorite dipping sauce in a small jar. For a more rustic look, use a wooden crate or a basket lined with a checkered cloth.
Flavor Variations
- Different spices: Try adding smoked paprika for a smoky flavor, or ground cumin for a slightly earthy taste.
- Creative toppings: Once the chicken is fried, toss it in your favorite seasonings, such as garlic parmesan, lemon pepper, or a spicy Cajun mix.
- Ingredient swaps: For a gluten-free version, use gluten-free flour for the coating. For a lighter option, use panko breadcrumbs mixed with spices for a crunchier coating.
Troubleshooting
- Texture problems: If your chicken turns out too greasy, it might be because the oil wasn’t hot enough. If it’s not crispy enough, try chilling the coated chicken before frying or ensure the oil is at the right temperature.
- Ingredient replacements: If you’re out of a specific spice, look for substitutes that offer similar flavor profiles. For example, if you don’t have garlic powder, you can use onion powder or dried herbs like thyme or rosemary.
- Over/undercooking signs: Make sure to check the internal temperature of the chicken to avoid undercooking. If the exterior is getting too dark before the chicken is fully cooked, reduce the heat or cover the skillet with a lid to prevent burning.
FAQs
- Can I freeze it? Yes, you can freeze fried chicken. Once cooled, place it in an airtight container or freezer bag and store in the freezer for up to 2 months. Reheat in the oven as described in the storage tips.
- Is it gluten-free? The recipe as described is not gluten-free due to the all-purpose flour. However, you can easily make it gluten-free by substituting the flour with a gluten-free alternative.
- Can I double the recipe? Yes, you can double or even triple the recipe if you’re serving a larger crowd. Just ensure you have enough oil and space in your skillet to fry the chicken in batches without overcrowding.
Conclusion
This Buttermilk Fried Chicken recipe is a game-changer for anyone who loves the combination of crispy, spicy, and tangy flavors. It’s easy to make, requires minimal special equipment, and can be customized to suit your taste preferences. Whether you’re cooking for yourself or a large group, this recipe is sure to please. Don’t be afraid to experiment with different seasonings and toppings to make it your own, and enjoy the process of creating a truly delicious meal from scratch.
Buttermilk Fried Chicken: Crispy & Spicy Stovetop Recipe
A crispy and spicy stovetop fried chicken recipe made with buttermilk, hot sauce, and a blend of spices, resulting in a juicy interior and a crunchy exterior.
🥘 Ingredients
👩🍳 Instructions
-
1Marinate the chicken in buttermilk and spices for at least 2 hours.
-
2Dredge the marinated chicken in flour, shaking off excess.
-
3Fry the coated chicken in hot oil until golden and cooked through.
-
4Drain excess oil on paper towels and serve hot.