Easy Chocolate-Dipped Vanilla Cakesicles – Fun Back to School Treat Idea
Introduction
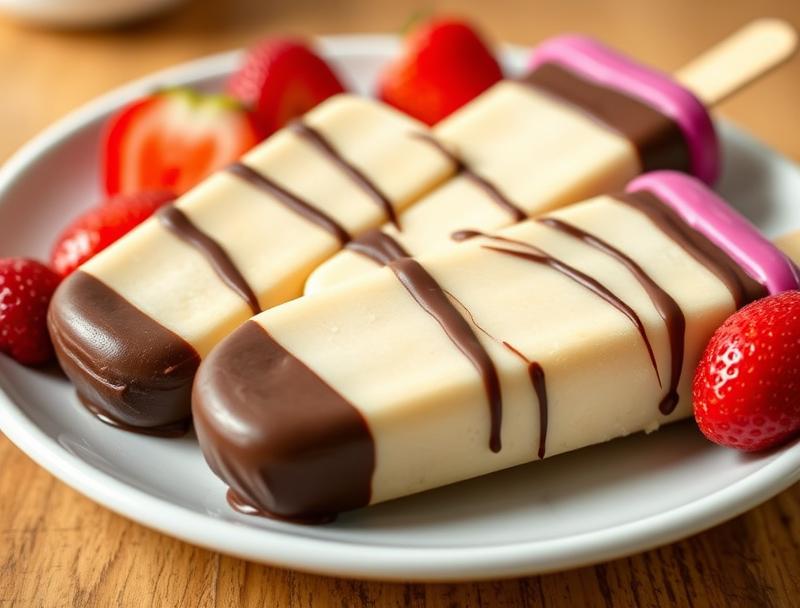
Welcome to the sweetest way to kick off the back-to-school season: Easy Chocolate-Dipped Vanilla Cakesicles! These adorable treats are not only a delight to eat, but they’re also incredibly easy to make, using everyday ingredients that you likely have on hand. The combination of moist vanilla cake, rich chocolate, and fun popsicle sticks makes for a treat that’s both delicious and visually appealing. Whether you’re a parent looking for a fun snack to pack in your kid’s lunchbox or a teacher seeking a sweet surprise for your students, these cakesicles are the perfect solution. So, let’s dive in and explore the magic of these chocolate-dipped wonders!
Why This Works
- Flavor balance and ingredient accessibility: The simplicity of vanilla cake paired with the depth of chocolate creates a flavor balance that’s hard to resist. Plus, the ingredients are easily found in most grocery stores, making this recipe accessible to everyone.
- Ease of preparation: One of the best things about this recipe is how easy it is to prepare. From mixing the cake batter to dipping the cakesicles in chocolate, each step is straightforward and requires minimal effort.
- Impressive results with minimal effort: Despite the ease of preparation, the end result is incredibly impressive. The chocolate-dipped cakesicles look like they came from a professional bakery, making them perfect for special occasions or everyday treats.
Ingredients
- 1 1/2 cups all-purpose flour
- 1 cup granulated sugar
- 2 teaspoons baking powder
- 1/2 teaspoon salt
- 1/2 cup unsalted butter, softened
- 1 cup whole milk
- 2 large eggs
- 2 teaspoons pure vanilla extract
- 1 cup semi-sweet chocolate chips
- Popsicle sticks or cake pop sticks
- Optional: sprinkles, chopped nuts, or shredded coconut for decoration
Instructions
- Step 1: Prepare the Cake Batter – Preheat your oven to 350°F (180°C). In a medium bowl, whisk together the flour, sugar, baking powder, and salt. In a large bowl, using an electric mixer, beat the butter until creamy. Add the dry ingredients to the butter in three parts, alternating with the milk, beginning and ending with the dry ingredients. Beat in the eggs one at a time, followed by the vanilla extract.
- Step 2: Bake the Cake – Pour the batter into a 9×13-inch baking dish and smooth the top. Bake for 25-30 minutes or until a toothpick inserted into the center comes out clean. Let the cake cool completely in the pan.
- Step 3: Prepare the Cakesicles – Once the cake is cool, crumble it into a large bowl. You should have about 4 cups of cake crumbs. Mix in enough frosting (or buttercream) to bind the cake together so it can hold its shape when formed into balls. Use a small cookie scoop or your hands to shape the cake mixture into balls, about 1 1/2 inches in diameter. Insert a popsicle stick into each ball, pushing it about halfway through.
- Step 4: Dip in Chocolate – Melt the chocolate chips in a double boiler or in a microwave-safe bowl in 30-second increments, stirring between each interval until smooth. Dip each cake ball into the melted chocolate, using a fork or dipping tool to fully coat the cake. Tap off any excess chocolate by gently tapping the fork or dipping tool against the side of the bowl. Place the dipped cakesicles on a parchment-lined baking sheet. If desired, sprinkle with toppings before the chocolate hardens.
- Step 5: Set and Serve – Refrigerate the cakesicles for at least 30 minutes to allow the chocolate to set. Serve chilled and enjoy!
Handy Tips
- For the best results, make sure your cake is completely cool before crumbling it. This will help prevent the cake from becoming too dense or moist.
- If you find that your cake balls are too crumbly, you can add a bit more frosting. If they’re too wet, you can add a bit more cake crumbs.
- Experiment with different types of chocolate for the coating, such as white chocolate or dark chocolate, for a different flavor profile.
Heat Control
When melting the chocolate, it’s crucial to do so gently to avoid overheating, which can cause the chocolate to seize up or become grainy. Using a double boiler or heating in short increments in the microwave and stirring well between each heating can help maintain a smooth, melted chocolate.
Crunch Factor
The crunch factor in these cakesicles comes from the hardened chocolate exterior, which provides a delightful contrast to the soft, moist cake interior. To enhance the crunch, you can also sprinkle chopped nuts or cookie crumbs over the chocolate before it sets.
Pro Kitchen Tricks
- Use high-quality chocolate for the best flavor. While it might be more expensive, the difference in taste is noticeable.
- If you’re having trouble getting the chocolate to stick to the cake, try chilling the cake for about 10 minutes before dipping. This will help the chocolate adhere better.
- For a fun variation, try adding a few drops of food coloring to the melted chocolate to match your child’s favorite color or the season.
Storage Tips
- Store the cakesicles in an airtight container in the refrigerator for up to 5 days.
- For longer storage, you can freeze the undipped cake balls for up to 2 months. Simply thaw at room temperature or in the refrigerator when you’re ready to dip them in chocolate.
- Keep the cakesicles away from direct sunlight and heat sources, as this can cause the chocolate to melt or become discolored.
Gift Packaging Ideas
These chocolate-dipped vanilla cakesicles make wonderful gifts, especially for kids. Consider packaging them in cellophane bags tied with a ribbon or placing them in small gift boxes lined with tissue paper. You can also include a handwritten note or a small gift tag with a personal message, making the gift even more special.
Flavor Variations
- Try using different extracts like almond or coconut to give the cake a unique flavor.
- Add a teaspoon of cinnamon or nutmeg to the cake batter for a warm, spicy flavor.
- Use different types of milk, such as almond or soy milk, to make the recipe more inclusive for those with dairy allergies.
Troubleshooting
- If your cakesicles are too dense, it might be because the cake was overmixed or too much frosting was added. Try to mix the ingredients just until they come together, and add the frosting gradually.
- If the chocolate doesn’t stick well to the cake, it could be because the cake was too dry or the chocolate was too hot. Try chilling the cake or cooling the chocolate slightly before dipping.
- If you notice the chocolate starting to bloom (develop a white, chalky appearance), it’s likely due to temperature changes. Try to store the cakesicles in a cooler, more stable environment.
FAQs
- Can I freeze the dipped cakesicles? Yes, you can freeze them for up to 2 months. However, it’s best to freeze the undipped cake balls and dip them in chocolate after thawing for the best results.
- Is this recipe gluten-free? No, this recipe includes all-purpose flour, which contains gluten. However, you can experiment with gluten-free flours to make a gluten-free version.
- Can I double the recipe? Yes, you can easily double or triple the recipe if you’re making these cakesicles for a large group. Just be sure to adjust the baking time accordingly if you’re baking a larger cake.
Conclusion
Making Easy Chocolate-Dipped Vanilla Cakesicles is a fun and rewarding process that yields delicious results. With these simple steps and handy tips, you’re well on your way to creating treats that will delight both kids and adults. Don’t be afraid to experiment with different flavors and decorations to make the recipe your own. Whether you’re celebrating a special occasion or just need a sweet pick-me-up, these cakesicles are sure to bring a smile to everyone’s face. So go ahead, get creative, and enjoy the process of making something truly special!
Easy Chocolate-Dipped Vanilla Cakesicles – Fun Back to School Treat Idea
A simple and fun recipe for chocolate-dipped vanilla cakesicles, perfect for back to school treats or any occasion.
🥘 Ingredients
👩🍳 Instructions
-
1Preheat oven to 350°F. Prepare the cake batter by whisking together flour, sugar, baking powder, and salt. Beat in butter, then add dry ingredients alternately with milk, beginning and ending with dry ingredients. Beat in eggs and vanilla extract.
-
2Pour batter into a 9x13-inch baking dish and bake for 25-30 minutes or until a toothpick comes out clean. Let the cake cool completely.
-
3Crumble the cooled cake into a large bowl. Mix in enough frosting to bind the cake together. Shape into balls and insert a popsicle stick into each.
-
4Melt the chocolate chips and dip each cake ball into the melted chocolate. Tap off excess chocolate and place on a parchment-lined baking sheet. Refrigerate until the chocolate is set.
-
5Serve chilled and enjoy!