Crunchy Homemade Cheez-Its Recipe
Introduction
Imagine a world where you can indulge in the crunchy, cheesy goodness of Cheez-Its without ever having to leave the comfort of your own home. With this simple and delicious recipe, you can create your own homemade Cheez-Its using everyday ingredients that are easily accessible and budget-friendly. The best part? You can customize the flavors to your liking, whether you’re a fan of classic cheddar or something a bit more adventurous. In this article, we’ll walk you through the easy steps to make your own crunchy homemade Cheez-Its, perfect for snacking, lunchboxes, or as a fun party favor.
Why This Works
- The perfect balance of flavors and textures comes from using a combination of sharp cheddar cheese, butter, and flour, making each bite a delight for the senses.
- The ease of preparation is unparalleled – with just a few simple ingredients and some basic kitchen equipment, you can whip up a batch of homemade Cheez-Its in no time.
- Despite the simplicity of the recipe, the results are truly impressive, with a crunchy exterior giving way to a cheesy, tender interior that’s sure to impress even the pickiest of eaters.
Ingredients
- 2 cups all-purpose flour
- 1/2 cup cold unsalted butter, cut into small pieces
- 1/2 cup grated sharp cheddar cheese
- 1/4 cup grated Parmesan cheese
- 1/2 teaspoon salt
- 1/4 teaspoon black pepper
- 1/4 teaspoon paprika
- 1/4 teaspoon cayenne pepper (optional)
- 1 tablespoon ice-cold water
Instructions
- Step 1: Preparing the Dough – In a large bowl, whisk together the flour, salt, black pepper, paprika, and cayenne pepper (if using). Add the cold butter and use a pastry blender or your fingers to work it into the flour mixture until it resembles coarse crumbs. Stir in the cheddar and Parmesan cheese.
- Step 2: Adding the Water – Gradually add the ice-cold water to the bowl, stirring with a fork until the dough comes together in a ball. Turn the dough out onto a lightly floured surface and knead a few times until it becomes smooth and pliable.
- Step 3: Rolling Out the Dough – Divide the dough in half and roll out each half into a thin sheet, about 1/16 inch thick. Use a cookie cutter or the rim of a glass to cut out the Cheez-Its into your desired shape.
- Step 4: Baking the Cheez-Its – Preheat your oven to 375°F (190°C). Line a baking sheet with parchment paper and arrange the Cheez-Its in a single layer, leaving about 1 inch of space between each one. Bake for 15-20 minutes, or until the edges are lightly golden brown.
Handy Tips
- To ensure your Cheez-Its are crunchy, make sure to bake them until they’re lightly golden brown and firm to the touch.
- If you find the dough is too sticky, add a little more flour. If it’s too dry, add a little more water.
- Experiment with different seasonings and cheeses to create unique flavor combinations – such as using smoked paprika or adding some diced herbs to the dough.
Heat Control
To achieve the perfect crunch, it’s essential to keep an eye on the temperature and timing when baking your Cheez-Its. A temperature of 375°F (190°C) is ideal, and you should bake them for 15-20 minutes, or until they’re lightly golden brown and firm to the touch. Keep an eye on them after 10 minutes, as the baking time may vary depending on the thickness of your Cheez-Its and your oven.
Crunch Factor
The key to achieving a crunchy texture is to bake the Cheez-Its until they’re lightly golden brown and firm to the touch. You can also try baking them for a few minutes longer to get an extra crispy texture, but be careful not to overcook them. Another trick is to use a combination of all-purpose flour and cornstarch, which will help to create a crunchy exterior and a tender interior.
Pro Kitchen Tricks
- To get a uniform thickness when rolling out the dough, try using a pasta machine or a rolling pin with a thickness guide.
- If you’re having trouble getting the Cheez-Its to hold their shape, try chilling the dough in the refrigerator for 30 minutes before rolling it out.
- To add an extra layer of flavor, try brushing the Cheez-Its with a little bit of egg wash or melted butter before baking.
Storage Tips
- Once the Cheez-Its are cool, you can store them in an airtight container at room temperature for up to 5 days.
- If you want to keep them fresh for longer, you can store them in the refrigerator for up to 2 weeks or freeze them for up to 2 months.
- To reheat frozen Cheez-Its, simply bake them in the oven at 350°F (180°C) for 5-7 minutes, or until crispy and golden brown.
Gift Packaging Ideas
If you’re looking for a fun and creative way to package your homemade Cheez-Its as a gift, try using decorative jars or tins and filling them with a variety of flavors. You can also add a personal touch by including a handwritten note or a small bag of gourmet cheese. Another idea is to create a gift basket filled with a selection of artisanal cheeses, crackers, and spreads – the perfect accompaniment to your crunchy homemade Cheez-Its.
Flavor Variations
- Try using different types of cheese, such as smoked gouda or goat cheese, to create unique flavor combinations.
- Add some diced herbs or spices to the dough for an extra boost of flavor – such as dried thyme or smoked paprika.
- Experiment with different seasonings, such as garlic powder or onion powder, to add an extra layer of flavor to your Cheez-Its.
Troubleshooting
- If your Cheez-Its are too dense or heavy, try adding a little more flour to the dough or baking them for a few minutes longer.
- If they’re too crumbly or fragile, try adding a little more water to the dough or using a higher ratio of cheese to flour.
- If you’re having trouble getting the Cheez-Its to hold their shape, try chilling the dough in the refrigerator for 30 minutes before rolling it out.
FAQs
- Can I freeze the dough? Yes, you can freeze the dough for up to 2 months. Simply wrap it tightly in plastic wrap or aluminum foil and store it in the freezer.
- Is this recipe gluten-free? No, this recipe contains all-purpose flour, which contains gluten. However, you can try substituting the flour with a gluten-free alternative, such as almond flour or coconut flour.
- Can I double the recipe? Yes, you can easily double or triple the recipe to make a larger batch of Cheez-Its. Simply multiply the ingredients accordingly and adjust the baking time as needed.
Conclusion
With this simple and delicious recipe, you can create your own crunchy homemade Cheez-Its using everyday ingredients. Whether you’re a fan of classic cheddar or something a bit more adventurous, the possibilities are endless. So go ahead, get creative, and start baking – your taste buds will thank you! Don’t forget to share your favorite flavor combinations and tips with friends and family, and enjoy the crunchy, cheesy goodness of your homemade Cheez-Its.
Crunchy Homemade Cheez-Its Recipe
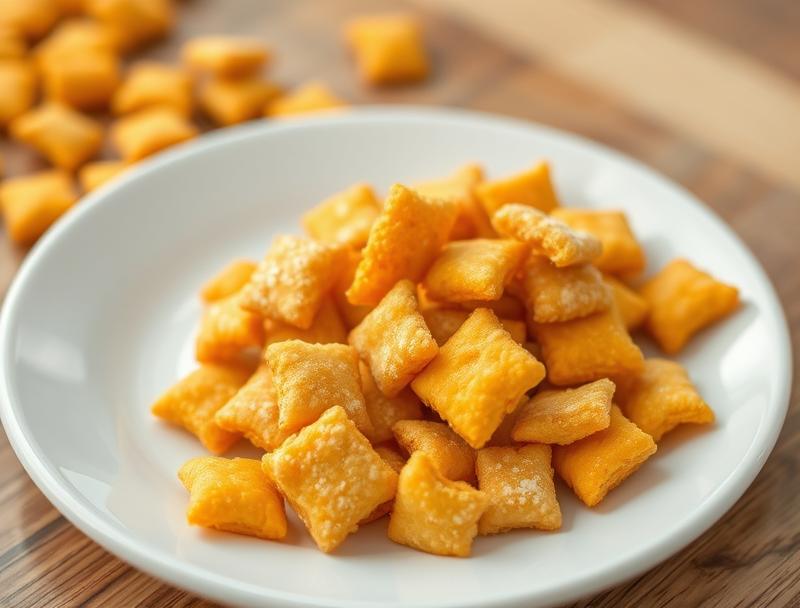
A simple and delicious recipe for homemade Cheez-Its using everyday ingredients, perfect for snacking, lunchboxes, or as a fun party favor.
🥘 Ingredients
👩🍳 Instructions
-
1Preheat the oven to 375°F (190°C).
-
2In a large bowl, whisk together the flour, salt, black pepper, paprika, and cayenne pepper (if using).
-
3Add the cold butter and use a pastry blender or your fingers to work it into the flour mixture until it resembles coarse crumbs.
-
4Stir in the cheddar and Parmesan cheese.
-
5Gradually add the ice-cold water to the bowl, stirring with a fork until the dough comes together in a ball.
-
6Turn the dough out onto a lightly floured surface and knead a few times until it becomes smooth and pliable.
-
7Divide the dough in half and roll out each half into a thin sheet, about 1/16 inch thick.
-
8Use a cookie cutter or the rim of a glass to cut out the Cheez-Its into your desired shape.
-
9Line a baking sheet with parchment paper and arrange the Cheez-Its in a single layer, leaving about 1 inch of space between each one.
-
10Bake for 15-20 minutes, or until the edges are lightly golden brown.