Ultimate Pull-Apart Cheeseburger Sliders
Introduction
Imagine a dish that combines the comfort of a cheeseburger with the ease and fun of pull-apart sliders, all made with everyday ingredients that are easily accessible. The Ultimate Pull-Apart Cheeseburger Sliders are a creative twist on traditional burgers, perfect for gatherings, parties, or even a simple family dinner. This recipe is all about ease, flavor, and creativity, ensuring that you can impress your guests or family with minimal effort. The best part? It’s incredibly easy to make and requires no special cooking skills, making it the perfect recipe for beginners and experienced cooks alike.
Why This Works
- Flavor balance and ingredient accessibility: This recipe strikes the perfect balance between flavors, with the sweetness of the buns, the savory taste of the beef, and the richness of the cheese. All the ingredients are easily found in most supermarkets, making it convenient to prepare.
- Ease of preparation: The Ultimate Pull-Apart Cheeseburger Sliders are surprisingly easy to prepare. The steps are straightforward, and the ingredients are simple to work with, ensuring that you can have a delicious meal ready in no time.
- Impressive results with minimal effort: Despite the ease of preparation, the end result is impressive and sure to delight both kids and adults. The pull-apart aspect adds a fun element to the dish, making it perfect for casual gatherings or special occasions.
Ingredients
- 1 package of slider buns (12-15 buns)
- 1 pound ground beef
- 1 medium onion, finely chopped
- 2 cloves of garlic, minced
- 1 tablespoon Worcestershire sauce
- 1 teaspoon salt
- 1/2 teaspoon black pepper
- 4 slices of cheese (American, cheddar, or your preferred cheese)
- 1 tablespoon mayonnaise or spread
- 1 tablespoon ketchup
- 1 tablespoon mustard (optional)
- Lettuce, tomatoes, pickles, or any other burger toppings you like
- 1 tablespoon olive oil
Instructions
- Step 1: Prepare the Ingredients – Begin by chopping the onion and mincing the garlic. Make sure all your ingredients are ready to go before you start cooking.
- Step 2: Cook the Ground Beef – In a large skillet, heat the olive oil over medium-high heat. Add the chopped onion and cook until it’s translucent. Then, add the minced garlic and cook for another minute. Add the ground beef, breaking it up with a spoon as it cooks, until it’s fully browned. Drain the excess fat.
- Step 3: Season the Beef and Assemble the Sliders – Add the Worcestershire sauce, salt, and pepper to the ground beef and mix well. Slice the slider buns in half and place them in a baking dish. Spread a layer of mayonnaise or your preferred spread on the bottom half of each bun. Then, add a spoonful of the beef mixture, followed by a slice of cheese, and any desired toppings. Place the top half of the bun on each slider.
- Step 4: Bake Until Golden – Cover the baking dish with aluminum foil and bake in a preheated oven at 350°F (175°C) for about 15 minutes. Remove the foil and continue baking for an additional 5-10 minutes, or until the buns are golden brown and the cheese is melted.
Handy Tips
- For an extra crispy top, broil the sliders for a minute or two after baking. Keep an eye on them to prevent burning.
- Consider using a variety of cheeses for a richer flavor profile.
- Don’t overfill the sliders, as this can make them difficult to handle and may result in toppings falling out.
Heat Control
When baking the sliders, it’s essential to keep an eye on them to ensure they don’t overcook. The ideal internal temperature for the beef should be at least 160°F (71°C) to ensure food safety. The buns should be lightly toasted, and the cheese should be fully melted. Adjust the baking time as needed based on your oven’s performance.
Crunch Factor
The crunch factor in these sliders comes from the toasted buns and any crunchy toppings you might add, such as pickles or crispy lettuce. To enhance the crunch, consider adding some crispy bacon bits or toasted onions on top of the sliders before baking.
Pro Kitchen Tricks
- Use high-quality ingredients: The better the quality of your ingredients, the better your sliders will taste. Choose fresh produce and good-quality meats and cheeses.
- Don’t press down on the burgers: When cooking the ground beef, avoid pressing down on it with your spatula, as this can make the burgers dense and lose their juices.
- Let it rest: After baking, let the sliders rest for a few minutes before serving. This allows the juices to redistribute, making the sliders more flavorful and tender.
Storage Tips
- Leftover sliders can be stored in an airtight container in the refrigerator for up to 2 days. Reheat them in the oven or microwave until warmed through.
- Consider freezing the assembled but unbaked sliders for up to a month. Simply thaw and bake as instructed when you’re ready.
Gift Packaging Ideas
If you’re considering gifting these sliders, perhaps for a potluck or as a treat for friends, you can package them in a variety of creative ways. Place the baked sliders in a decorative basket or tray, wrapped in parchment paper or aluminum foil and tied with a ribbon. You could also include a side of your favorite dipping sauce or a small salad for a complete meal.
Flavor Variations
- Different spices: Add some heat with red pepper flakes, or give it an Italian twist with oregano and basil.
- Creative toppings: Experiment with different cheeses, meats (like bacon or ham), and vegetables (such as grilled mushrooms or bell peppers) to find your perfect combination.
- Ingredient swaps: Use ground turkey, chicken, or beans for a vegetarian option to change up the protein.
Troubleshooting
- Texture problems: If your sliders become too dense, it might be because the meat was overworked. Try to handle the meat as little as possible when forming the patties.
- Ingredient replacements: If you’re missing an ingredient, don’t be afraid to substitute. For example, you can use different types of cheese or add some chopped bell peppers for extra flavor.
- Over/undercooking signs: Keep an eye on the sliders while they’re baking. If the buns start to brown too quickly, cover the dish with foil to prevent burning. If the cheese isn’t melted to your liking, give it a few more minutes.
FAQs
- Can I freeze it? Yes, you can freeze the sliders before baking. Simply assemble them, place them on a baking sheet to freeze, and then transfer them to a freezer-safe bag or container for up to a month.
- Is it gluten-free? Depending on the type of buns you use, this recipe can be adapted to be gluten-free. Look for gluten-free slider buns or consider using lettuce wraps as an alternative.
- Can I double the recipe? Absolutely! This recipe is easily scalable. Just remember to adjust the baking time slightly if you’re making a larger batch.
Conclusion
The Ultimate Pull-Apart Cheeseburger Sliders are a game-changer for anyone looking for a fun, easy, and delicious meal idea. With their perfect balance of flavors, ease of preparation, and impressive presentation, they’re sure to become a favorite. Don’t be afraid to experiment with different toppings and ingredients to make the recipe your own, and enjoy the process of creating something special for your loved ones. Whether you’re a seasoned cook or just starting out, this recipe is a must-try for its simplicity, versatility, and the joy it brings to the table.
Ultimate Pull-Apart Cheeseburger Sliders
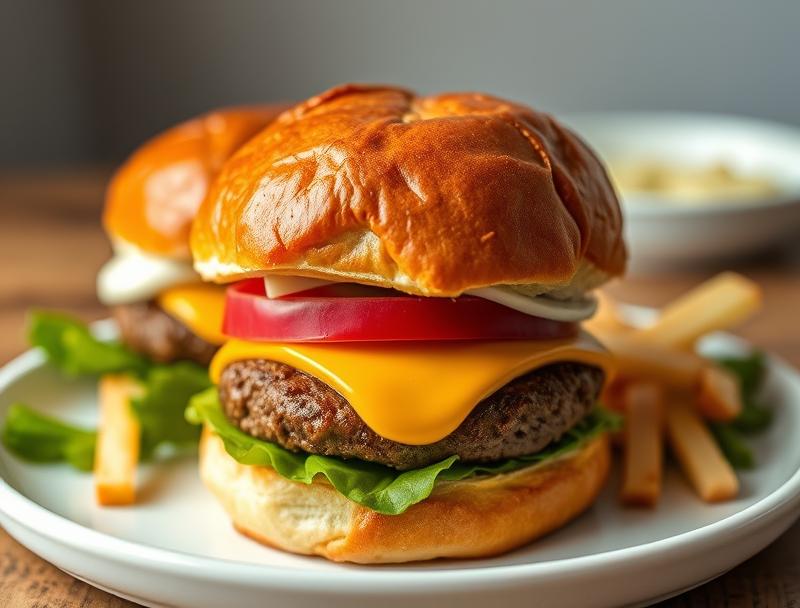
A creative twist on traditional burgers, these pull-apart sliders are easy to make, fun to eat, and perfect for gatherings or family dinners.
🥘 Ingredients
👩🍳 Instructions
-
1Prepare the ingredients by chopping the onion and mincing the garlic.
-
2Cook the ground beef in a skillet, breaking it up as it cooks, until it's fully browned. Add the Worcestershire sauce, salt, and pepper, and mix well.
-
3Assemble the sliders by spreading mayonnaise on the bottom half of each bun, adding a spoonful of the beef mixture, a slice of cheese, and any desired toppings. Top with the other half of the bun.
-
4Bake the sliders in a preheated oven at 350°F (175°C) for about 15 minutes covered with foil, and an additional 5-10 minutes uncovered, or until the buns are golden brown and the cheese is melted.