Get Ready for Zesty Fun! Easy Key Lime Pie Rice Krispie Treats – Your New Favorite No-Bake Dessert!
Introduction
Are you looking for a dessert that’s both easy to make and bursting with flavor? Look no further than these Easy Key Lime Pie Rice Krispie Treats! They’re the perfect combination of tangy key lime, sweet marshmallows, and crunchy Rice Krispies, all in one delicious no-bake treat. Using everyday ingredients, you can create a dessert that’s not only delicious but also visually appealing and fun to eat. The best part? It requires minimal effort and no baking skills whatsoever, making it perfect for a quick dessert fix or a fun project to do with the kids.
Why This Works
- The balance of flavors between the key lime juice, marshmallows, and graham cracker crumbs creates a delightful taste experience that’s both familiar and exciting.
- The ease of preparation is unparalleled – with just a few simple steps, you can have a batch of these treats ready to go in no time.
- Despite the simplicity of the recipe, the end result is impressive and sure to please both kids and adults alike, making it perfect for parties, gatherings, or just a quick dessert.
Ingredients
- 2 cups Rice Krispies cereal
- 1 cup marshmallows
- 1/4 cup unsalted butter or margarine
- 1 teaspoon key lime zest
- 2 tablespoons freshly squeezed key lime juice
- 1 cup graham cracker crumbs
- 1 cup powdered sugar
- Food coloring (green or yellow, optional)
- Whipped cream or additional powdered sugar for topping (optional)
Instructions
- Step 1: Prepare the Marshmallow Mixture – In a large pot or saucepan, melt the butter or margarine over low heat. Add the marshmallows and stir until they are completely melted and the mixture is smooth.
- Step 2: Add Key Lime Flavor and Color – Remove the pot from the heat and stir in the key lime zest and juice. If desired, add a few drops of green or yellow food coloring to tint the treats.
- Step 3: Combine with Rice Krispies – Quickly add the Rice Krispies cereal to the pot and stir until the cereal is evenly coated with the marshmallow mixture.
- Step 4: Press into a Pan – Press the Rice Krispie mixture into a greased 9×13 inch baking dish. Let it cool and harden for about 30 minutes.
- Step 5: Top with Graham Cracker Crust Mixture – In a small bowl, mix together the graham cracker crumbs and powdered sugar. Sprinkle this mixture evenly over the top of the Rice Krispie treats.
- Step 6: Cut and Serve – Once the treats are completely set, use a sharp knife to cut them into bars. Serve and enjoy! You can top with whipped cream or additional powdered sugar if desired.
Handy Tips
- For an extra crunchy graham cracker topping, you can lightly toast the graham cracker crumbs in a 350°F oven for a few minutes before mixing with powdered sugar.
- If you find the marshmallow mixture too sticky, you can add a bit more powdered sugar to help bind it together.
- Experiment with different types of citrus zest or juice, like lemon or orange, for a different twist on the flavor.
Heat Control
Since these treats are no-bake, the only heat control you need to worry about is when melting the marshmallows. Keep the heat on low and stir constantly to avoid burning the marshmallows or the butter/margarine. If you’re using a microwave to melt the marshmallows, do so in short intervals (about 30 seconds) and check on them until they’re smooth and melted.
Crunch Factor
The crunch in these treats comes from the Rice Krispies cereal and the graham cracker crumbs on top. To ensure your treats have the perfect crunch, don’t overmix the marshmallow and cereal mixture, as this can make the treats dense and chewy rather than light and crunchy. Also, toasting the graham cracker crumbs lightly before sprinkling them over the top can enhance the crunch factor.
Pro Kitchen Tricks
- Use a silicon spatula to press the Rice Krispie mixture into the pan, as it will help prevent sticking and make the process easier.
- For uniform bars, use a sharp knife and press down gently but firmly when cutting the treats.
- Consider using a stand mixer to melt the marshmallows and mix the ingredients, especially if you’re making a large batch, as it can save time and effort.
Storage Tips
- Store the treats in an airtight container at room temperature for up to 3 days.
- For longer storage, you can keep them in the refrigerator for up to 5 days. Let them come to room temperature before serving.
- Avoid freezing, as the texture and consistency might be affected. However, if you must freeze, wrap them tightly and store for up to 2 months. Thaw at room temperature when ready to serve.
Gift Packaging Ideas
These Key Lime Pie Rice Krispie Treats are perfect for gifting, especially during the spring and summer months when key lime flavors are particularly refreshing. Consider packaging them in cute paper bags, wrapping them individually in plastic wrap or aluminum foil and placing them in a decorative tin, or arranging them on a platter or tray for a beautiful presentation. A ribbon or a gift tag with a personal message can add a lovely touch.
Flavor Variations
- Try using different extracts like coconut or almond to give the treats an additional layer of flavor.
- Add some color and fun with sprinkles or edible glitter on top of the treats before the graham cracker mixture sets.
- For a more intense key lime flavor, use key lime extract in addition to the fresh juice and zest.
Troubleshooting
- If your treats turn out too sticky, it might be because the marshmallows weren’t melted enough or because the mixture was overmixed. Try adding a bit more powdered sugar to balance it out.
- If they’re too crumbly, it could be due to overmixing the cereal into the marshmallow mixture or not pressing the mixture firmly enough into the pan.
- For treats that are too dense, consider adding a bit more cereal or using less marshmallow mixture next time.
FAQs
- Can I freeze these treats? While it’s possible, freezing can affect the texture. It’s best to consume them fresh or store them in the refrigerator for up to 5 days.
- Is this recipe gluten-free? Depending on the brand of marshmallows and graham crackers you use, this recipe can be gluten-free. Always check the ingredient labels to ensure the products you’re using are gluten-free.
- Can I double the recipe? Yes, you can easily double or even triple this recipe if you’re making it for a larger crowd. Just be sure to use a larger pot for melting the marshmallows and a bigger pan for pressing the mixture into.
Conclusion
These Easy Key Lime Pie Rice Krispie Treats are a game-changer for anyone looking for a fun, easy, and delicious dessert that’s perfect for any occasion. With their unique blend of key lime flavor, crunchy texture, and sweet marshmallow goodness, they’re sure to be a hit with both kids and adults. Don’t be afraid to experiment with different flavors and toppings to make the recipe your own, and enjoy the process of creating something special and delicious with minimal effort. Happy baking – or should we say, happy no-baking!
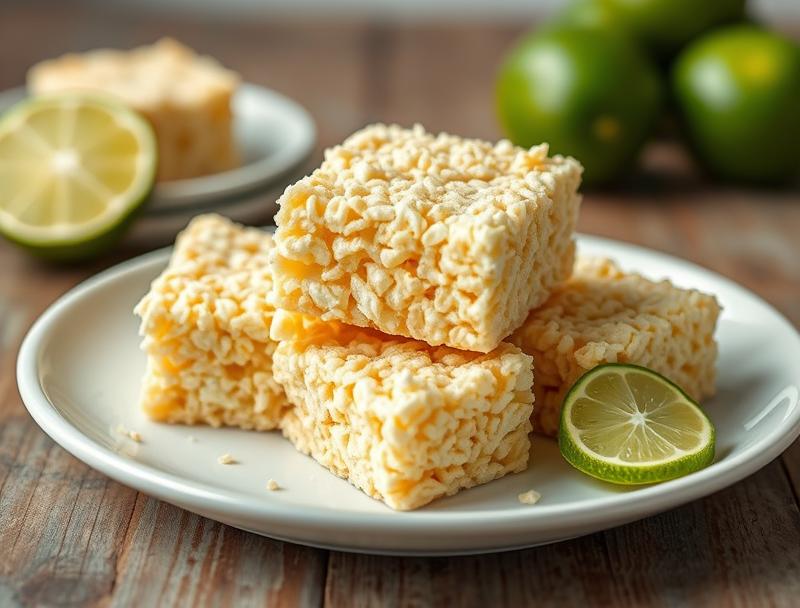
Easy Key Lime Pie Rice Krispie Treats
A no-bake dessert combining key lime flavor with Rice Krispie treats, perfect for any occasion.
🥘 Ingredients
👩🍳 Instructions
-
1Melt marshmallows and butter in a pot over low heat.
-
2Stir in key lime zest and juice.
-
3Add Rice Krispies cereal and mix until coated.
-
4Press mixture into a greased 9x13 inch baking dish.
-
5Top with a mixture of graham cracker crumbs and powdered sugar.
-
6Let set, then cut into bars and serve.