Baked Ham and Cheese Sliders – Snack On Meat
Introduction
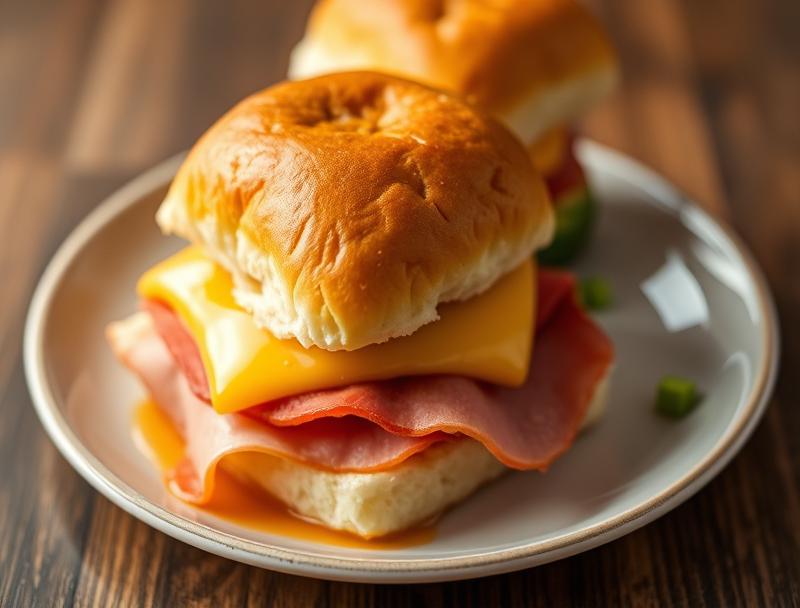
Imagine sinking your teeth into a warm, cheesy, and savory delight that’s perfect for any time of the day. Baked Ham and Cheese Sliders are the ultimate comfort food that combines the simplicity of everyday ingredients with the elegance of a perfectly baked dish. These sliders are not just a snack; they’re an experience that will leave you and your loved ones craving for more. With their ease of preparation, flavor balance, and impressive presentation, they’re ideal for family gatherings, parties, or even a quick lunch. In this article, we’ll dive into the world of Baked Ham and Cheese Sliders, exploring why they work, the ingredients you’ll need, step-by-step instructions, and expert tips to make them a staple in your kitchen.
Why This Works
- Flavor balance and ingredient accessibility: The combination of ham, cheese, and bread offers a perfect harmony of salty, sweet, and savory flavors, all made with easily accessible ingredients.
- Ease of preparation: Despite their impressive outcome, Baked Ham and Cheese Sliders require minimal effort and time, making them a go-to for busy days.
- Impressive results with minimal effort: The baking process transforms simple ingredients into a golden, cheesy, and inviting dish that’s sure to impress anyone.
Ingredients
- 12 small bread rolls or slider buns
- 6 slices of ham
- 6 slices of cheese (such as cheddar, mozzarella, or your favorite)
- 1/4 cup of butter, softened
- 1 tablespoon of Dijon mustard
- 1 teaspoon of dried onion powder
- Salt and pepper, to taste
- Fresh parsley or chives, chopped (for garnish)
Instructions
- Step 1: Preparation – Begin by preheating your oven to 350°F (175°C). Slice the ham and cheese into appropriate sizes for your sliders. Butter each bread roll or slider bun lightly on the top and bottom.
- Step 2: Assembly – Place a slice of ham and a slice of cheese on the bottom half of each bun. You can add a small dollop of Dijon mustard on top of the ham for extra flavor.
- Step 3: Baking – Place the sliders on a baking sheet lined with parchment paper, leaving a little space between each to allow for even cooking. Sprinkle the tops with onion powder and a pinch of salt and pepper. Bake for about 12-15 minutes, or until the cheese is melted and the bread is toasted golden brown.
- Step 4: Serving – Remove the sliders from the oven and let them cool for a minute or two. Garnish with chopped parsley or chives. Serve warm and enjoy!
Handy Tips
- For an extra crispy top, broil the sliders for an additional 1-2 minutes after baking. Keep an eye on them to avoid burning.
- Consider using different types of cheese or ham to vary the flavor profile of your sliders.
- To avoid the bread becoming too soggy, lightly toast the buns before assembling the sliders.
Heat Control
When baking the sliders, it’s crucial to maintain the oven at 350°F (175°C) for the best results. This temperature ensures that the cheese melts perfectly and the bread toasts without burning. Keep an eye on the sliders after the 10-minute mark, as oven temperatures can vary. They’re done when the cheese is melted, and the tops are golden brown.
Crunch Factor
The crunch factor in Baked Ham and Cheese Sliders comes from the toasted bread and the slight crispiness on the edges of the ham and cheese. To achieve this, ensure that the bread is lightly toasted before baking, and don’t overload the sliders with too much cheese or ham, which can make them soggy. A light hand when applying the butter also helps in achieving a crunchier bread top.
Pro Kitchen Tricks
- Use a variety of cheeses for a richer flavor. Mixing cheddar with mozzarella, for example, gives a nice balance of sharpness and creaminess.
- For a gourmet twist, add some caramelized onions or bell peppers on top of the ham before adding the cheese.
- Keep your sliders warm by placing them in a low-temperature oven (around 200°F or 90°C) for up to 30 minutes before serving.
Storage Tips
- Leftover sliders can be stored in an airtight container in the refrigerator for up to 2 days. Reheat them in the oven at 300°F (150°C) for about 5 minutes, or until warmed through.
- For longer storage, consider freezing the assembled but unbaked sliders. Simply place them on a baking sheet, freeze until solid, and then transfer them to a freezer-safe bag or container. Bake frozen sliders at 350°F (175°C) for an additional 2-3 minutes, or until the cheese is melted and the bread is toasted.
Gift Packaging Ideas
If you’re considering gifting these delicious sliders, packaging is key. Place the baked and cooled sliders in a decorative tin or airtight container. Wrap the container in a colorful towel or gift wrap, and add a ribbon around it. Include a small note with reheating instructions for a thoughtful touch. For a more rustic appeal, use a wooden crate or a basket lined with parchment paper and filled with the sliders.
Flavor Variations
- Different spices: Try adding a pinch of cayenne pepper for a spicy kick or some dried herbs like thyme or rosemary for an earthy flavor.
- Creative toppings: Add some sliced olives, pepperoncini, or a spoonful of fig jam on top of the cheese for unique flavor combinations.
- Ingredient swaps: Use turkey or roast beef instead of ham for a different protein, or swap the cheese with a vegan alternative for a plant-based version.
Troubleshooting
- Texture problems: If the bread becomes too soggy, it might be due to overloading the sliders with cheese or ham. Try toasting the bread before assembling for better results.
- Ingredient replacements: If you’re out of a particular ingredient, don’t hesitate to substitute. For example, you can use mayonnaise instead of butter for a richer flavor.
- Over/undercooking signs: Keep an eye on the sliders while they’re baking. If the tops are not golden brown after 12 minutes, bake for an additional 2-3 minutes. Conversely, if they start to brown too quickly, cover the tops with foil to prevent burning.
FAQs
- Can I freeze it? Yes, you can freeze the assembled but unbaked sliders for up to 2 months. Bake frozen sliders at 350°F (175°C) for an additional 2-3 minutes.
- Is it gluten-free? Depending on the type of bread used, these sliders might not be gluten-free. Consider using gluten-free bread for a gluten-free version.
- Can I double the recipe? Absolutely! Simply double all the ingredients and bake in batches if necessary, to ensure all sliders have enough space on the baking sheet.
Conclusion
Baked Ham and Cheese Sliders are a versatile and delicious addition to any meal or gathering. With their easy preparation, flavorful outcome, and the option to customize with various ingredients, they’re sure to become a favorite. Whether you’re a seasoned chef or a beginner in the kitchen, these sliders offer a simple yet impressive dish that’s perfect for sharing or enjoying on your own. So go ahead, experiment with different flavors, and make Baked Ham and Cheese Sliders a staple in your culinary repertoire.
oten note: Always check the internal temperature of meat products and ensure they are cooked to a safe minimum internal temperature to avoid foodborne illness.
Baked Ham and Cheese Sliders - Snack On Meat
A simple yet delicious recipe for baked ham and cheese sliders, perfect for snacking or as a light meal.
🥘 Ingredients
👩🍳 Instructions
-
1Preheat the oven to 350°F (175°C).
-
2Butter each bread roll or slider bun lightly on the top and bottom.
-
3Assemble the sliders by placing a slice of ham and a slice of cheese on the bottom half of each bun.
-
4Place the sliders on a baking sheet lined with parchment paper and bake for 12-15 minutes, or until the cheese is melted and the bread is toasted golden brown.