Easter Bunny Cake Recipe – Adorable & Delicious Dessert Idea
Introduction
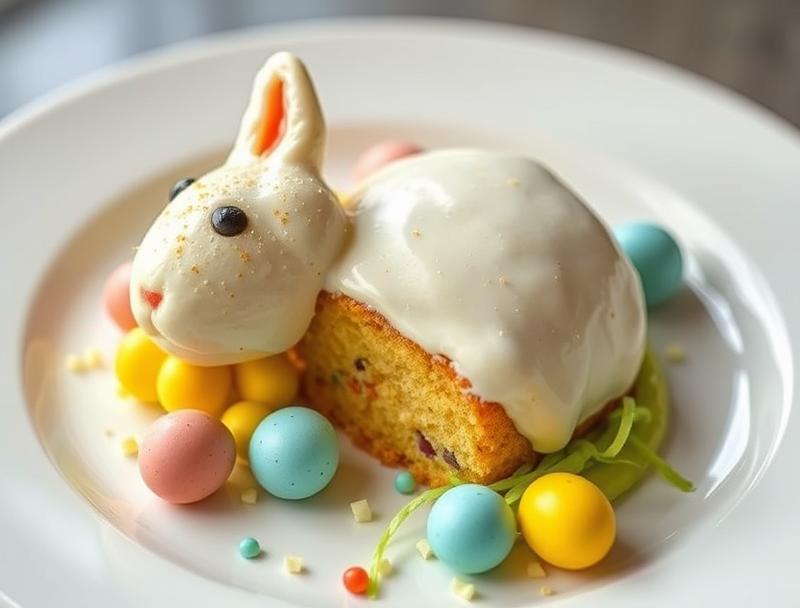
This Easter Bunny Cake recipe is a delightful and delicious dessert idea that’s perfect for the holiday season. With its adorable bunny design and moist, flavorful cake, it’s sure to be a hit with family and friends. The best part? It’s incredibly easy to make, using everyday ingredients that you likely have on hand. Whether you’re a seasoned baker or a beginner, this recipe is a great way to get creative and have fun in the kitchen. So why not hop to it and give it a try?
Why This Works
- The combination of vanilla and butter flavors creates a delicious and balanced taste experience.
- The use of simple ingredients and easy-to-follow instructions makes this recipe accessible to bakers of all skill levels.
- The adorable bunny design is sure to impress, and can be customized with your favorite colors and decorations.
Ingredients
- 2 cups all-purpose flour
- 1 cup granulated sugar
- 2 teaspoons baking powder
- 1/2 teaspoon salt
- 1/2 cup unsalted butter, softened
- 1 cup whole milk
- 2 large eggs
- 2 teaspoons pure vanilla extract
- Food coloring (pink, white, and black)
- Frosting and decorations (such as coconut flakes, candy eyes, and whiskers)
Instructions
- Step 1: Preheat your oven to 350°F (180°C). Grease and flour two 9-inch (23cm) round cake pans.
- Step 2: In a medium bowl, whisk together the flour, sugar, baking powder, and salt. In a large bowl, whisk together the butter, milk, eggs, and vanilla extract.
- Step 3: Add the dry ingredients to the wet ingredients and mix until just combined. Divide the batter evenly between the prepared pans and smooth the tops.
- Step 4: Bake for 25-30 minutes, or until a toothpick inserted into the center of each cake comes out clean. Allow the cakes to cool in the pans for 5 minutes, then transfer them to a wire rack to cool completely.
- Step 5: Once the cakes are cool, use frosting and decorations to create the bunny design. You can use coconut flakes to create the bunny’s fur, and candy eyes and whiskers to add a cute face.
Handy Tips
- Make sure to not overmix the batter, as this can result in a dense cake.
- Use high-quality ingredients, such as real butter and pure vanilla extract, for the best flavor.
- Experiment with different frosting colors and decorations to create a unique and personalized bunny design.
Heat Control
When baking the cakes, make sure to keep an eye on the temperature and timing. The cakes are done when a toothpick inserted into the center comes out clean, and they should be lightly golden brown on top.
Crunch Factor
This cake is designed to be moist and tender, with a delicate crumb. To achieve this, make sure to not overbake the cakes, and use a gentle touch when handling the batter and frosting.
Pro Kitchen Tricks
- Use a turntable to display your finished cake, and add a few decorative touches, such as fresh flowers or greenery, to create a beautiful and eye-catching presentation.
- Experiment with different flavor combinations, such as adding a teaspoon of lemon or almond extract to the batter, to create a unique and delicious taste experience.
- Make sure to have fun and be creative with your cake decorating – it’s all about experimentation and self-expression!
Storage Tips
- Store your finished cake in an airtight container at room temperature for up to 3 days.
- Freeze the cake for up to 2 months, and thaw at room temperature when you’re ready to serve.
- Use a cake keeper or cake box to keep your cake fresh and protected from dust and other contaminants.
Gift Packaging Ideas
This cake is perfect for gift-giving, and can be packaged in a variety of creative and adorable ways. Consider using a decorative cake box or bag, and adding a few personalized touches, such as a handwritten note or a sprinkle of colorful sprinkles.
Flavor Variations
- Try adding a teaspoon of lemon or orange extract to the batter for a bright and citrusy flavor.
- Use different types of milk, such as almond or soy milk, to create a non-dairy version of the cake.
- Experiment with different types of frosting, such as cream cheese or whipped cream, to create a unique and delicious taste experience.
Troubleshooting
- If your cake is too dense or dry, try adding a little more milk or butter to the batter next time.
- If your frosting is too thin or runny, try adding a little more powdered sugar to thicken it up.
- If your cake is not baking evenly, try rotating the pans halfway through the! baking time to ensure that the cakes are cooking consistently.
FAQs
- Can I freeze the cake? Yes, you can freeze the cake for up to 2 months. Simply wrap it tightly in plastic wrap or aluminum foil and store it in a freezer-safe bag.
- Is the cake gluten-free? No, this cake recipe contains wheat flour and is not gluten-free. However, you can try substituting the flour with a gluten-free alternative, such as almond flour or coconut flour.
- Can I double the recipe? Yes, you can double the recipe to make a larger cake. Simply multiply all of the ingredients by two and bake the cakes in larger pans.
Conclusion
This Easter Bunny Cake recipe is a fun and delicious way to celebrate the holiday season. With its adorable bunny design and moist, flavorful cake, it’s sure to be a hit with family and friends. So why not get creative and give it a try? Don’t be afraid to experiment and add your own personal touches – and most importantly, have fun and enjoy the process of making something special and delicious!
Easter Bunny Cake Recipe - Adorable & Delicious Dessert Idea
A delicious and adorable Easter bunny cake recipe, perfect for the holiday season. Moist and flavorful, with a fun and creative design.
🥘 Ingredients
👩🍳 Instructions
-
1Preheat the oven to 350°F (180°C). Grease and flour two 9-inch (23cm) round cake pans.
-
2In a medium bowl, whisk together the flour, sugar, baking powder, and salt. In a large bowl, whisk together the butter, milk, eggs, and vanilla extract.
-
3Add the dry ingredients to the wet ingredients and mix until just combined. Divide the batter evenly between the prepared pans and smooth the tops.
-
4Bake for 25-30 minutes, or until a toothpick inserted into the center of each cake comes out clean. Allow the cakes to cool in the pans for 5 minutes, then transfer them to a wire rack to cool completely.
-
5Once the cakes are cool, use frosting and decorations to create the bunny design.