Easy Caramel Chocolate Crunch Bars Recipe
Introduction
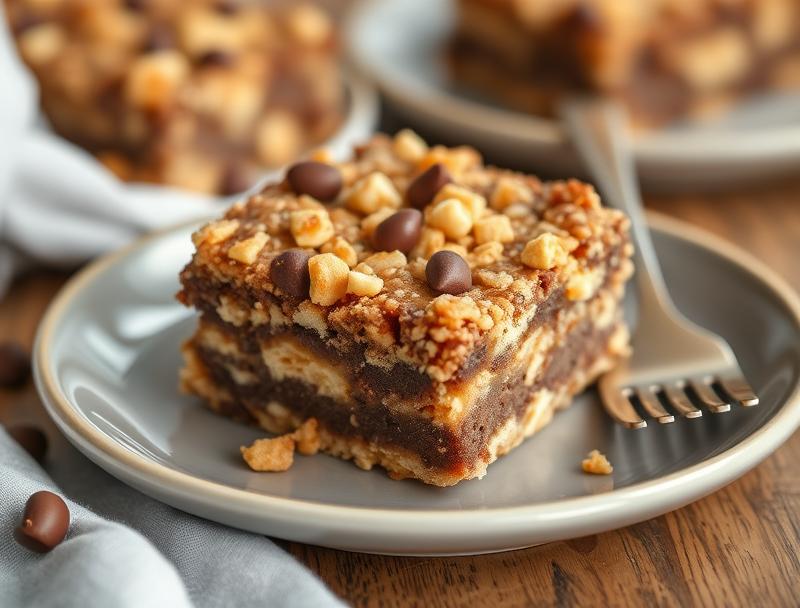
Imagine indulging in a rich, velvety caramel and deep, dark chocolate, all perfectly balanced on a crunchy base that adds a delightful textural element to each bite. The Easy Caramel Chocolate Crunch Bars Recipe is a masterpiece of simplicity and flavor, using everyday ingredients to create a dessert that’s both impressive and effortless to make. Whether you’re a novice in the kitchen or an experienced baker, this recipe is sure to become a favorite, offering the perfect blend of ease, creativity, and indulgence.
Why This Works
- Flavor balance and ingredient accessibility: The combination of caramel, chocolate, and crunch provides a well-rounded taste experience, and the ingredients are easy to find in most grocery stores.
- Ease of preparation: The steps are straightforward, and the bars come together quickly, making them perfect for last-minute dessert needs or when you want to impress without fuss.
- Impressive results with minimal effort: Despite the simplicity, the end result looks and tastes like a professional dessert, making it ideal for gatherings or as a gift.
Ingredients
- 2 cups of graham cracker crumbs for the base
- 1/2 cup granulated sugar
- 1/4 cup melted unsalted butter
- 1 cup of caramel sauce (homemade or store-bought)
- 1 cup of semisweet chocolate chips
- 1 cup of chopped nuts (walnuts or pecans work well for the crunch)
- 1 teaspoon sea salt
- 1 tablespoon vanilla extract (optional)
Instructions
- Step 1: Preheat your oven to 350°F (180°C). Prepare a 9×9-inch baking dish by lining it with parchment paper, leaving some overhang for easy removal of the bars once they’re set.
- Step 2: In a medium bowl, mix together the graham cracker crumbs, sugar, and melted butter until well combined. Press this mixture into the prepared baking dish. Bake for about 10 minutes or until lightly browned. Let cool completely.
- Step 3: Pour the caramel sauce over the cooled crust. If using nuts, sprinkle them evenly over the caramel layer. Bake in the oven for an additional 5-7 minutes, watching carefully to prevent the caramel from burning.
- Step 4: Melt the chocolate chips in a double boiler or in a microwave-safe bowl in 30-second increments, stirring between each interval until smooth. Pour the melted chocolate over the caramel and nut layer. If desired, sprinkle with sea salt or a drizzle of additional caramel sauce. Refrigerate until the chocolate is set, then cut into bars.
Handy Tips
- For an easier caramel sauce, use store-bought, but if making your own, ensure you don’t stir too much, as this can cause the caramel to crystallize.
- Experiment with different types of nuts or even cookie crumbs for the crunch layer to change up the flavor and texture.
- Keep an eye on the oven temperature and the baking time, as both can significantly affect the texture and consistency of your bars.
Heat Control
When baking the crust and the caramel layer, it’s crucial to monitor the oven temperature and the baking time. The ideal temperature is 350°F (180°C), and the baking times provided are guidelines. Keep an eye on your bars to prevent overcooking, which can lead to a burnt or too-hard crust and caramel that’s too dark.
Crunch Factor
The crunch in these bars comes from the nuts or the additional crunch layer you might choose to add. To achieve the perfect crunch, ensure that your nuts are fresh and haven’t become rancid, which can affect their texture and flavor. If using another type of crunch element, such as cookie crumbs, adjust the baking time accordingly to prevent burning.
Pro Kitchen Tricks
- To make the bars easier to cut, refrigerate them for at least 30 minutes before cutting. Use a sharp knife and cut in a gentle sawing motion.
- For a cleaner look, melt a small amount of chocolate and use it to “glue” any stray nuts or crumbs back onto the bars after cutting.
- Consider using a water bath when melting chocolate to prevent it from seizing up due to excessive heat.
Storage Tips
- Store the bars in an airtight container in the refrigerator for up to a week. Let them come to room temperature before serving for the best flavor and texture.
- These bars can be frozen for up to 2 months. Wrap them individually in plastic wrap or aluminum foil and place in a freezer-safe bag. Thaw at room temperature or in the refrigerator when ready to serve.
- When transporting or storing, keep the bars away from direct sunlight and heat sources to prevent the chocolate from melting or becoming discolored.
Gift Packaging Ideas
These bars make excellent gifts, especially when packaged nicely. Consider placing them in decorative tins, jars, or even cellophane bags tied with a ribbon. A personal touch, such as a handwritten note or a sprinkle of edible gold dust on top, can elevate the gift. If gifting during a warmer season, ensure to keep the bars cool during transport to prevent melting.
Flavor Variations
- Different spices: Add a pinch of sea salt or a teaspoon of vanilla extract to the caramel for added depth.
- Creative toppings: Before the chocolate sets, sprinkle with shredded coconut, chocolate chips, or even dried cranberries for a fruity twist.
- Ingredient swaps: Use different types of chocolate or nuts to change the flavor profile. For example, white chocolate and macadamia nuts offer a sweeter and crunchier contrast.
Troubleshooting
- Texture problems: If the bars become too hard, they might have been overbaked. If too soft, the caramel might not have been cooked enough or the chocolate not set properly.
- Ingredient replacements: When substituting ingredients, ensure they have similar properties to the originals. For example, using milk chocolate instead of semisweet will result in a sweeter bar.
- Over/undercooking signs: Keep an eye on the color and texture. A well-cooked crust will be lightly browned, and the caramel should be smooth and evenly colored.
FAQs
- Can I freeze it? Yes, these bars can be frozen for up to 2 months. Wrap them tightly and store in a freezer-safe bag.
- Is it gluten-free? Depending on the type of graham cracker crumbs used, these bars might not be gluten-free. Look for gluten-free alternatives for the crust.
- Can I double the recipe? Yes, you can double the recipe, but ensure you have a large enough baking dish. A 9×13-inch dish would be suitable for a doubled recipe.
Conclusion
With the Easy Caramel Chocolate Crunch Bars Recipe, you’re not just making a dessert; you’re creating an experience. The combination of textures and flavors is sure to impress anyone who tries them. Whether you’re a fan of caramel, chocolate, or just love the simplicity of a no-fuss dessert, these bars are sure to become a staple in your recipe book. So go ahead, get creative, and enjoy the process of making something truly special with ingredients that are easily accessible and a method that’s hard to mess up.
Easy Caramel Chocolate Crunch Bars Recipe
A simple yet impressive dessert combining caramel, chocolate, and crunch, perfect for any occasion.
🥘 Ingredients
👩🍳 Instructions
-
1Preheat oven to 350°F (180°C). Prepare a 9x9-inch baking dish.
-
2Mix graham cracker crumbs, sugar, and melted butter. Press into the baking dish and bake for 10 minutes.
-
3Pour caramel sauce over the crust, add nuts, and bake for an additional 5-7 minutes.
-
4Melt chocolate chips and pour over the caramel layer. Refrigerate until set, then cut into bars.
-
5Store in an airtight container in the refrigerator for up to a week or freeze for up to 2 months.