Authentic Indian Fry Bread Made Simple
Introduction
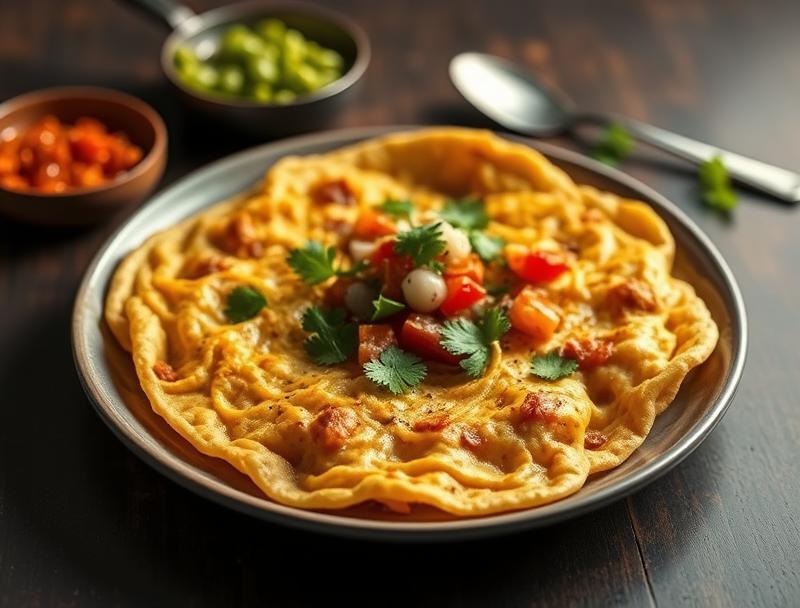
Imagine the warmth of a traditional Indian kitchen, where the simplest ingredients come together to create a dish so divine, it’s a staple at family gatherings and celebrations. Indian Fry Bread, a classic comfort food, is easier to make than you think, using everyday ingredients that will surprise you with their depth of flavor and creativity. This recipe is all about embracing the beauty of simplicity, the joy of cooking, and the satisfaction of sharing delicious, homemade treats with your loved ones. With just a few ingredients and some straightforward steps, you’ll be on your way to making authentic Indian Fry Bread that will impress and delight anyone who tries it.
Why This Works
- Flavor balance and ingredient accessibility: The combination of a few, easily accessible ingredients creates a harmony of flavors that is both authentic and irresistible.
- Ease of preparation: The simplicity of the recipe makes it perfect for beginners and experienced cooks alike, requiring minimal time and effort for maximum reward.
- Impressive results with minimal effort: Despite its simplicity, the end result is a dish that looks and tastes like it was made with much more complexity, sure to impress family and friends.
Ingredients
- 2 cups all-purpose flour
- 1/2 teaspoon salt
- 1/4 teaspoon baking powder
- 1/4 cup vegetable shortening or butter, melted
- 3/4 cup warm water
- Vegetable oil for frying
- Optional toppings: honey, powdered sugar, cinnamon, nutella, etc.
Instructions
- Step 1: In a large mixing bowl, combine the flour, salt, and baking powder. Whisk these dry ingredients together until they are well mixed.
- Step 2: Add the melted shortening or butter to the dry ingredients. Use a fork or a pastry blender to work the shortening into the flour mixture until it resembles coarse crumbs.
- Step 3: Gradually add the warm water to the mixture, stirring with a fork until the dough comes together. It should form a ball and be slightly sticky. If necessary, add a little more flour or water to achieve the right consistency.
- Step 4: Knead the dough for about 5 minutes until it becomes smooth and elastic. Cover the dough with plastic wrap or a damp cloth and let it rest for 30 minutes.
- Step 5: Divide the dough into 4 equal pieces. Roll each piece into a ball and then flatten it slightly into a disk shape, about 1/4 inch thick.
- Step 6: Heat about 1/2 inch of vegetable oil in a large skillet over medium-high heat until it reaches 350°F. Fry the bread for 1-2 minutes on each side, until it is golden brown and puffed up. Drain the bread on paper towels.
- Step 7: Serve the fry bread warm, topped with your choice of honey, powdered sugar, cinnamon, or other desired toppings.
Handy Tips
- Make sure the oil is hot enough before frying the bread to achieve the right crispiness.
- Don’t overwork the dough, as this can make the bread tough.
- Experiment with different toppings to find your favorite flavor combinations.
Heat Control
For frying the Indian Fry Bread, it’s crucial to maintain the right temperature. The ideal frying temperature is between 350°F and 375°F. If the oil is too hot, the bread will burn before it’s fully cooked, and if it’s too cool, the bread will absorb too much oil. Adjust the heat as necessary to keep the oil within this range, and fry the bread for 1-2 minutes on each side, until it’s golden brown and cooked through.
Crunch Factor
The crunch factor of Indian Fry Bread comes from frying it in hot oil. To achieve the perfect crunch, make sure the oil is at the right temperature, and don’t overcrowd the skillet. Fry the bread in batches if necessary, to ensure each piece has enough room to cook evenly. The result should be a bread that’s crispy on the outside and soft on the inside.
Pro Kitchen Tricks
- Use a thermometer to ensure the oil reaches the perfect frying temperature.
- Don’t skip the resting time for the dough, as this helps the gluten relax, making the bread easier to roll out and resulting in a better texture.
- For an extra crispy crust, you can chill the shaped dough in the refrigerator for 30 minutes before frying.
Storage Tips
- Best consumed fresh, but leftovers can be stored in an airtight container at room temperature for up to 2 days.
- Reheat by wrapping the bread in foil and warming it in the oven at 350°F for a few minutes.
- Freezing is not recommended as it can affect the texture of the bread.
Gift Packaging Ideas
Indian Fry Bread can be a lovely gift, especially when packaged with a selection of sweet and savory toppings. Consider placing a few pieces of freshly made fry bread in a decorative basket or box, accompanied by small jars of honey, powdered sugar, and cinnamon. Add a personal touch with a handmade card or a ribbon around the basket, and you have a thoughtful and delicious gift for any occasion.
Flavor Variations
- Different spices: Try adding a pinch of cumin or coriander to the dough for an extra depth of flavor.
- Creative toppings: In addition to traditional toppings, consider Nutella, peanut butter, or even savory options like hummus or avocado spread.
- Ingredient swaps: For a gluten-free version, experiment with gluten-free flours, though note that the texture may vary slightly.
Troubleshooting
- Texture problems: If the bread turns out too dense, it might be due to overworking the dough. If it’s too oily, the oil might not have been hot enough.
- Ingredient replacements: While the recipe is quite forgiving, replacing the shortening with butter will give a slightly different flavor and texture.
- Over/undercooking signs: The bread should be golden brown and puffed up when done. If it’s pale, it might not be cooked enough, and if it’s too dark, it’s overcooked.
FAQs
- Can I freeze it? It’s best consumed fresh, but if you must store it, keep it at room temperature for up to 2 days.
- Is it gluten-free? The traditional recipe is not gluten-free, but you can experiment with gluten-free flours for a modified version.
- Can I double the recipe? Yes, simply double all the ingredients. Be prepared to fry the bread in more batches to prevent overcrowding the skillet.
Conclusion
Making authentic Indian Fry Bread at home is a journey of discovery, not just of a new recipe, but of the joy of cooking and sharing. It’s about the simplicity of a few quality ingredients coming together to create something truly special. Whether you’re a seasoned cook or just starting out, this recipe is sure to become a favorite. So go ahead, give it a try, and don’t hesitate to experiment and make it your own. Share your creations with family and friends, and enjoy the warmth and love that comes with every bite of this delicious, homemade Indian Fry Bread.
Authentic Indian Fry Bread Made Simple
A traditional Indian comfort food made easy with simple ingredients and steps, perfect for family gatherings and celebrations.
🥘 Ingredients
👩🍳 Instructions
-
1Combine dry ingredients in a bowl.
-
2Add melted shortening and mix until crumbly.
-
3Gradually add warm water and mix until a dough forms.
-
4Knead the dough for 5 minutes and let it rest for 30 minutes.
-
5Divide the dough into 4 pieces and roll each into a ball then flatten into disks.
-
6Fry the bread in hot oil until golden brown, about 1-2 minutes per side.
-
7Serve warm with desired toppings.