Green Chile Cheddar Biscuits — Fluffy & Flavorful Savory Bake
Introduction
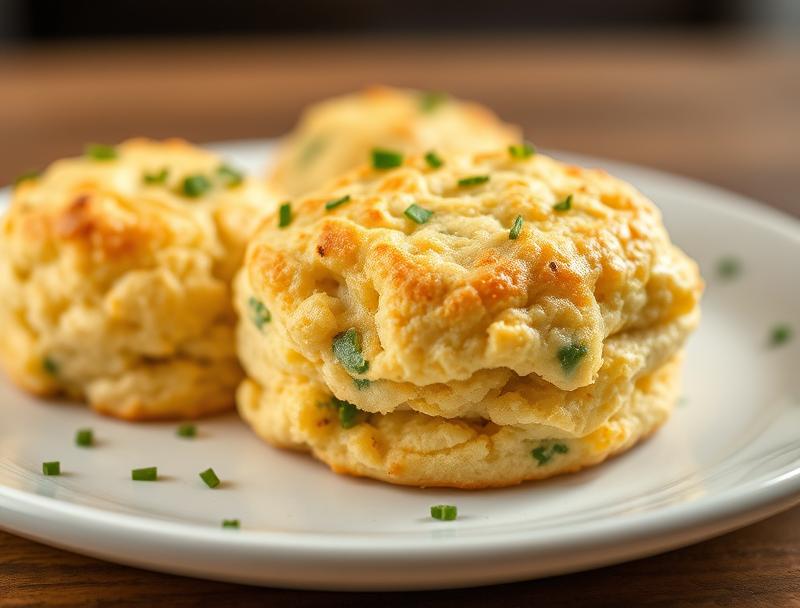
Imagine sinking your teeth into a warm, fluffy biscuit that’s bursting with the rich flavors of green chile and the sharpness of cheddar cheese. This Green Chile Cheddar Biscuits recipe is not only a masterpiece of savory baking but also a testament to how everyday ingredients can be transformed into something truly special. With its perfect balance of spice, flavor, and texture, these biscuits are sure to become a favorite in your household. Whether you’re a seasoned baker or just starting out, this recipe is designed to be easy to follow and requires minimal effort for maximum impact.
Why This Works
- Flavor balance and ingredient accessibility: The combination of green chile and cheddar cheese provides a depth of flavor that’s both unique and accessible, using ingredients that are readily available in most supermarkets.
- Ease of preparation: Despite the impressive results, these biscuits are surprisingly easy to make, requiring only basic baking skills and a short list of ingredients.
- Impressive results with minimal effort: The end product is not only delicious but also visually appealing, making it perfect for serving at gatherings or as a special treat for the family.
Ingredients
- 2 cups all-purpose flour
- 4 teaspoons baking powder
- 1 teaspoon salt
- 1/2 cup cold unsalted butter, cut into small pieces
- 3/4 cup grated cheddar cheese
- 1/2 cup chopped green chiles (canned or fresh, roasted and chopped)
- 3/4 cup buttermilk
- 1 egg, beaten (for egg wash)
- Fresh parsley or chives, chopped (for garnish)
Instructions
- Step 1: Preheat your oven to 400°F (200°C). Line a baking sheet with parchment paper or a silicone mat.
- Step 2: In a large bowl, whisk together the flour, baking powder, and salt. Add the cold butter and use a pastry blender or your fingers to work the butter into the flour mixture until it resembles coarse crumbs.
- Step 3: Stir in the grated cheddar cheese and chopped green chiles. In a small bowl, whisk the buttermilk until it’s smooth. Pour the buttermilk into the dry ingredients and stir until the dough comes together in a shaggy mass.
- Step 4: Turn the dough out onto a floured surface and gently knead it a few times until it comes together. Roll the dough out to about 1 inch thickness. Use a biscuit cutter or the rim of a glass to cut out the biscuits. Gather the scraps, re-roll the dough, and cut out additional biscuits.
- Step 5: Place the biscuits on the prepared baking sheet, leaving about 1 inch of space between each biscuit. Brush the tops with the beaten egg for a golden glaze.
- Step 6: Bake the biscuits for 15-20 minutes, or until they’re golden brown. Remove them from the oven and let them cool on a wire rack for a few minutes before serving. Garnish with chopped fresh parsley or chives.
Handy Tips
- For an extra flaky texture, make sure to keep your butter cold and handle the dough gently.
- If using fresh green chiles, roasting them in the oven until the skin is charred, then peeling and chopping them will enhance their flavor and texture.
- Don’t overmix the dough, as this can lead to tough biscuits. Stop mixing as soon as the ingredients come together in a shaggy mass.
Heat Control
The ideal temperature for baking these biscuits is 400°F (200°C). It’s crucial to preheat your oven to ensure it reaches the correct temperature. Baking time may vary depending on your oven, so keep an eye on the biscuits after 12 minutes. They’re done when they’re golden brown. If you prefer a crisper bottom, you can bake them for an additional 2-3 minutes.
Crunch Factor
The exterior of these biscuits should be lightly golden and crisp, while the interior remains fluffy and tender. To achieve this, ensure you don’t overbake them. The egg wash before baking also helps in achieving a golden, slightly crispy top.
Pro Kitchen Tricks
- Use a cast-iron skillet or a baking stone in the oven to enhance the browning and crispiness of the biscuits.
- For an extra boost of flavor, brush the biscuits with melted butter as soon as they come out of the oven.
- Consider using different types of cheese or adding some diced herbs to the dough for varied flavor profiles.
Storage Tips
- These biscuits are best served fresh, but they can be stored in an airtight container at room temperature for up to 2 days.
- For longer storage, freeze the biscuits after they’ve cooled completely. They can be reheated in the oven or microwave when needed.
- When reheating, wrap the biscuits in foil and heat them in a 350°F oven for about 5-7 minutes, or until warmed through.
Gift Packaging Ideas
These Green Chile Cheddar Biscuits make a wonderful gift, especially when packaged in a decorative tin or a rustic basket lined with a checkered cloth. Consider adding a jar of homemade jam or a packet of gourmet coffee to complement the gift. Wrap each biscuit individually in parchment paper or a paper bag and tie with a ribbon for a charming, homespun touch.
Flavor Variations
- Different spices: Add some heat with red pepper flakes or try a smoky flavor with a bit of chipotle powder.
- Creative toppings: Before baking, brush the tops with garlic butter or sprinkle with grated Parmesan cheese for added flavor.
- Ingredient swaps: Use other types of cheese like Monterey Jack or Pepper Jack for a unique twist, or substitute the green chiles with diced jalapeños for an extra kick.
Troubleshooting
- Texture problems: If your biscuits turn out too dense, it might be due to overmixing the dough. Try to mix the ingredients just until they come together.
- Ingredient replacements: If you don’t have buttermilk, you can make a substitute by mixing 1 cup of milk with 1 tablespoon of white vinegar or lemon juice. Let it sit for 5-10 minutes before using.
- Over/undercooking signs: Keep an eye on your biscuits while they’re baking. They’re done when they’re golden brown. If they’re not brown after the recommended baking time, check every minute thereafter until they’re perfectly cooked.
FAQs
- Can I freeze the dough instead of the baked biscuits? Yes, you can freeze the dough. Simply shape the biscuits, place them on a baking sheet lined with parchment paper, and put the sheet in the freezer until the biscuits are frozen solid. Then, transfer them to a freezer-safe bag or container for storage. Bake frozen biscuits for an additional 2-3 minutes.
- Is this recipe gluten-free? No, this recipe uses all-purpose flour and is not gluten-free. However, you can experiment with gluten-free flours, keeping in mind that the texture and flavor may vary.
- Can I double the recipe? Yes, you can easily double or triple this recipe if you’re serving a larger crowd. Just remember to adjust the baking time slightly if you’re baking more biscuits at once.
Conclusion
Making Green Chile Cheddar Biscuits is a rewarding baking experience that yields delicious, fluffy, and flavorful results with minimal effort. Whether you’re a beginner in the kitchen or a seasoned pro, this recipe is sure to please. Don’t hesitate to experiment with different flavors and ingredients to make the recipe your own. Share your creations with friends and family, and enjoy the warmth and comfort that comes with baking something special for those you love. Happy baking!
Green Chile Cheddar Biscuits — Fluffy & Flavorful Savory Bake
A savory biscuit recipe combining the flavors of green chile and cheddar cheese, perfect for a delicious and easy bake.
🥘 Ingredients
👩🍳 Instructions
-
1Preheat the oven to 400°F (200°C).
-
2Mix the dry ingredients and cut in the butter until the mixture resembles coarse crumbs.
-
3Add the cheese, green chiles, and buttermilk. Stir until the dough comes together.
-
4Turn the dough out onto a floured surface, knead gently, and roll out to about 1 inch thickness.
-
5Cut out the biscuits and place them on a prepared baking sheet. Brush the tops with beaten egg for a golden glaze.
-
6Bake for 15-20 minutes or until the biscuits are golden brown.