Red Velvet Brownies: Fudgy & Easy Cake Mix Hack
Introduction
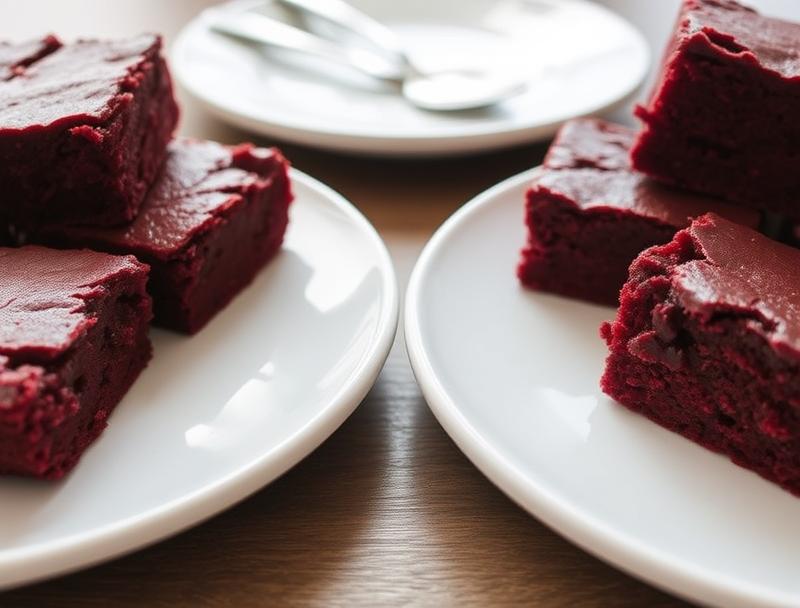
Imagine indulging in rich, fudgy, and decadently chocolatey red velvet brownies without the hassle of starting from scratch. This ingenious cake mix hack transforms a simple mix into a masterpiece of flavors and textures, perfect for satisfying your sweet tooth or impressing your friends and family with minimal effort. The beauty of this recipe lies in its accessibility and creativity, using everyday ingredients to craft something truly special. With each bite, the velvety texture and deep, slightly tangy flavor of red velvet will transport you to a world of pure bliss, making it an ideal treat for any occasion.
Why This Works
- Flavor balance and ingredient accessibility: The combination of red velvet cake mix, chocolate, and cream cheese achieves a perfect balance of flavors, while the ingredients are easily found in most supermarkets.
- Ease of preparation: This recipe simplifies the process of making brownies by leveraging a cake mix, reducing the number of ingredients and steps required.
- Impressive results with minimal effort: Despite its simplicity, the outcome is remarkably professional, with the fudgy texture and vibrant red color of the brownies sure to impress.
Ingredients
- 1 box of red velvet cake mix (15.25 oz)
- 1/2 cup of unsalted butter, melted
- 2 large eggs
- 1 teaspoon of vanilla extract
- 1 and 1/4 cups of semi-sweet chocolate chips
- 1 cup of cream cheese frosting (for serving, optional)
- Chopped walnuts or pecans (optional, for added texture)
Instructions
- Step 1: Preheat your oven to 350°F (180°C). Line an 8-inch square baking pan with parchment paper, leaving some overhang for easy removal.
- Step 2: In a large bowl, combine the melted butter, eggs, and vanilla extract. Whisk until well combined. Then, add the red velvet cake mix and whisk until a smooth batter forms.
- Step 3: Melt the chocolate chips in a double boiler or in the microwave in 30-second increments, stirring between each interval until smooth. Allow the chocolate to cool slightly, then fold it into the cake mix batter until well incorporated.
- Step 4: Pour the batter into the prepared baking pan and smooth the top. If using nuts, sprinkle them evenly over the batter. Bake for 25-30 minutes or until a toothpick inserted into the center comes out with a few moist crumbs attached. Let the brownies cool completely in the pan before cutting into squares and serving. If desired, top with cream cheese frosting for an extra layer of flavor.
Handy Tips
- For an intense chocolate experience, use high-quality chocolate chips. If you prefer a lighter texture, you can add an extra egg or reduce the amount of chocolate chips.
- Avoid overmixing the batter to preserve the fudgy texture of the brownies. Also, don’t overbake, as this can make the brownies dry and crumbly.
- Consider adding different nuts or even dried cranberries to give your brownies a unique twist. Consider substituting the semi-sweet chocolate chips with milk chocolate or white chocolate for a different flavor profile.
Heat Control
Monitoring the heat and baking time is crucial. The ideal temperature is 350°F (180°C), and baking should take approximately 25-30 minutes. Keep an eye on the brownies after 20 minutes, as oven times can vary. They are done when a toothpick inserted into the center comes out with a few moist crumbs, indicating they are cooked through but still fudgy.
Crunch Factor
Achieving the right texture is key. For fudgy brownies, it’s essential not to overbake. If you prefer a crunchier top, you can broil the brownies for an extra 30 seconds to 1 minute after baking, watching carefully to avoid burning. Adding nuts provides a pleasant crunch, balancing the velvety texture of the brownies.
Pro Kitchen Tricks
- To ensure the brownies are perfectly cut, refrigerate them for about 30 minutes before slicing. Use a sharp knife and cut in a smooth, even motion.
- For easier cleanup, line your baking pan with parchment paper, allowing you to lift the brownies out and dispose of the paper instead of scrubbing the pan.
- Experiment with different types of chocolate or add-ins like espresso powder, orange zest, or cinnamon to create unique flavor combinations that elevate your brownies from ordinary to extraordinary.
Storage Tips
- Store the brownies in an airtight container at room temperature for up to 3 days. For longer storage, consider refrigerating them for up to 5 days or freezing for up to 2 months. When freezing, cut the brownies into squares, place them on a baking sheet lined with parchment paper, and once frozen, transfer them to a freezer-safe bag or container.
- When reheating, simply microwave a brownie for 10-15 seconds or until warmed through. Be cautious not to overheat, as this can make the brownies dry.
Gift Packaging Ideas
If you’re considering gifting these brownies, they can be beautifully packaged in decorative tin boxes, jars, or even wrapped in colorful paper or cellophane bags and tied with a ribbon. Adding a personal touch, like a handwritten note or a sprinkle of powdered sugar on top, makes the gift even more special.
Flavor Variations
- Different spices: Introduce a pinch of salt, a teaspoon of cinnamon, or a bit of cayenne pepper to add depth and warmth to your brownies.
- Creative toppings: Before baking, top your brownies with marshmallows, peanut butter cups, or even candy pieces for a fun twist.
- Ingredient swaps: Substitute the chocolate chips with caramel bits, peanut butter chips, or even dried fruit to change up the flavor profile.
Troubleshooting
- Texture problems: If your brownies turn out too dry, they might have been overbaked. Next time, check them earlier. If they’re too gooey, they might need a few more minutes in the oven.
- Ingredient replacements: If you don’t have certain ingredients, like eggs, you can substitute them with flax eggs or applesauce. However, note that this might slightly alter the texture and flavor.
- Over/undercooking signs: Keep an eye out for the edges starting to pull away from the pan and the top being set but still slightly soft to the touch. Avoid overcooking, as indicated by dry, cracked tops.
FAQs
- Can I freeze it? Yes, you can freeze the brownies for up to 2 months. It’s best to freeze them after they have cooled completely.
- Is it gluten-free? The recipe depends on a traditional cake mix, which contains gluten. However, you can explore gluten-free cake mix alternatives to accommodate dietary needs.
- Can I double the recipe? Absolutely, just ensure you have a large enough baking pan. A 9×13 inch pan would be ideal for doubling the recipe.
Conclusion
With this red velvet brownies recipe, you’re not just making a dessert; you’re creating an experience. The combination of ease, accessibility, and the potential for customization makes it perfect for anyone looking to indulge in a sweet treat or impress others with their baking skills. Feel free to experiment with the recipe, share your creations, and enjoy the journey of culinary exploration. Happy baking!
Red Velvet Brownies: Fudgy & Easy Cake Mix Hack
A simple yet decadent recipe for fudgy red velvet brownies using a cake mix hack, perfect for satisfying sweet tooth cravings with minimal effort.
🥘 Ingredients
👩🍳 Instructions
-
1Preheat the oven to 350°F (180°C). Prepare an 8-inch square baking pan with parchment paper.
-
2Combine melted butter, eggs, and vanilla extract in a large bowl. Whisk until well combined, then add the red velvet cake mix and whisk until smooth.
-
3Melt the chocolate chips and fold them into the cake mix batter. Pour the batter into the prepared baking pan and smooth the top.
-
4Bake for 25-30 minutes or until a toothpick inserted into the center comes out with a few moist crumbs. Let cool completely before cutting and serving.