Peanut Butter & Jelly Cheesecake (No-Fuss, All Flavor!)
Introduction
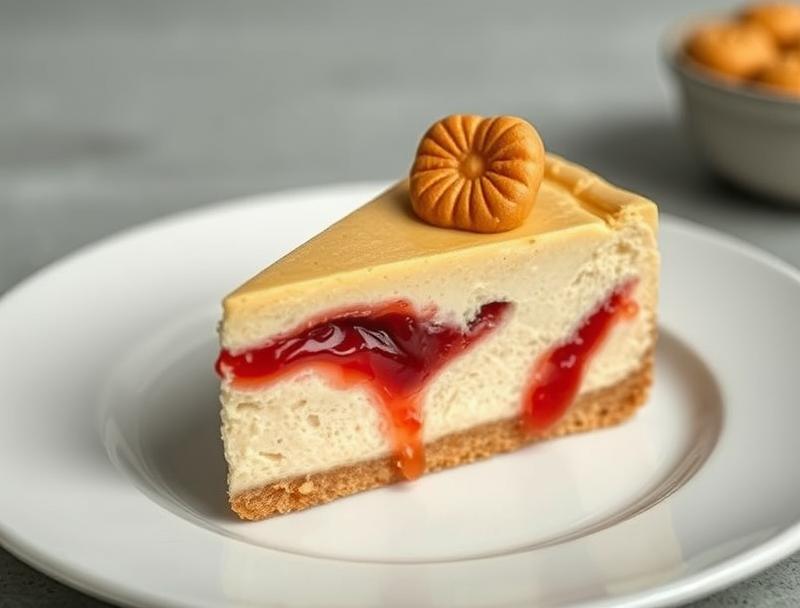
Imagine a dessert that combines the nostalgic flavors of your childhood with the sophistication of a cheesecake. The Peanut Butter & Jelly Cheesecake is a creative twist on traditional cheesecakes, blending the richness of peanut butter with the sweetness of jelly, all on a bed of crunchy graham cracker crust. This no-fuss recipe is perfect for anyone looking to impress their friends and family with a unique dessert that requires minimal effort but yields maximum flavor. Using everyday ingredients, you can create a masterpiece that will satisfy any sweet tooth and leave everyone asking for the recipe.
Why This Works
- Flavor balance and ingredient accessibility: The combination of peanut butter and jelly provides a perfect balance of savory and sweet, while the ingredients are easily found in most grocery stores.
- Ease of preparation: The steps to make this cheesecake are straightforward and simple, requiring no special cooking techniques or equipment beyond a basic mixer and baking dish.
- Impressive results with minimal effort: Despite its simplicity, the Peanut Butter & Jelly Cheesecake presents beautifully and tastes divine, making it an ideal choice for special occasions or potlucks.
Ingredients
- 1 1/2 cups graham cracker crumbs
- 1/4 cup granulated sugar
- 6 tablespoons (3/4 stick) unsalted butter, melted
- 16 ounces cream cheese, softened
- 1/2 cup granulated sugar
- 4 large eggs, separated
- 1/2 cup creamy peanut butter
- 1/4 cup grape or strawberry jelly
- 1 teaspoon vanilla extract
- Salt to taste
- Whipped cream or additional peanut butter and jelly for topping (optional)
Instructions
- Step 1: Preheat your oven to 325°F (165°C). In a medium bowl, mix together the graham cracker crumbs, sugar, and melted butter until well combined. Press the mixture into the bottom of a 9-inch springform pan. Bake for 10 minutes, then let cool completely.
- Step 2: In a large mixing bowl, beat the cream cheese until smooth. Add the granulated sugar and beat until combined. Beat in the eggs, one at a time, followed by the peanut butter and vanilla extract.
- Step 3: Pour the cheesecake batter into the prepared pan over the crust. Dollop the jelly on top of the cheesecake batter and use a knife or spatula to create a swirly design.
- Step 4: Bake the cheesecake for 55-60 minutes or until the edges are set and the center is just slightly jiggly. Let it cool in the pan for 1 hour before running a knife around the edges and releasing the springform. Let it cool completely on a wire rack.
Handy Tips
- To avoid cracking, ensure the cheesecake cools slowly and evenly. Avoid overmixing the batter, as this can incorporate too much air, leading to cracks during baking.
- For a water bath, wrap the outside of the springform pan with foil and place it in a larger pan filled with hot water to about halfway up the sides of the springform. This can help the cheesecake cook more evenly and reduce the risk of cracking.
- Let the cheesecake chill in the refrigerator for at least 4 hours or overnight before serving. This will help it set properly and make it easier to slice.
Heat Control
The ideal temperature for baking the cheesecake is 325°F (165°C), and it should be baked for 55-60 minutes. The cheesecake is done when the edges are set, and the center is just slightly jiggly. Avoid overbaking, as this can cause the cheesecake to dry out.
Crunch Factor
The graham cracker crust provides a nice crunch to the cheesecake. To maintain this crunch, avoid overbaking the crust, and make sure it cools completely before adding the cheesecake batter. If desired, you can also add some chopped nuts or cookie pieces to the crust for extra texture.
Pro Kitchen Tricks
- Use high-quality ingredients: While it might be tempting to use cheaper alternatives, the flavor and texture of your cheesecake will benefit from using high-quality cream cheese, peanut butter, and jelly.
- Don’t overmix: Mix your ingredients just until they come together. Overmixing can lead to a dense cheesecake.
- Let it rest: Allowing the cheesecake to cool and set properly is crucial. This step ensures that your cheesecake will be smooth and creamy rather than cracked and dry.
Storage Tips
- Once the cheesecake has cooled, it can be refrigerated for up to 5 days. Wrap it tightly in plastic wrap or aluminum foil to prevent drying out.
- For longer storage, the cheesecake can be frozen. Wrap it tightly in plastic wrap or aluminum foil and place it in a freezer-safe bag. Frozen cheesecake will keep for up to 2 months. Thaw frozen cheesecake in the refrigerator overnight.
- When serving, consider topping the cheesecake with whipped cream, additional peanut butter, or jelly for extra flavor and visual appeal.
Gift Packaging Ideas
The Peanut Butter & Jelly Cheesecake makes a wonderful gift for friends and family, especially during holidays or special occasions. Consider packaging a slice or two in decorative containers or jars, topped with a ribbon or a gift tag. You could also include a side of whipped cream or a jar of peanut butter and jelly for an extra-special touch.
Flavor Variations
- Different jellies: Experiment with various flavors of jelly, such as apricot, orange marmalade, or even Nutella for a chocolate-hazelnut twist.
- Creative toppings: Add some chopped nuts, chocolate chips, or even candy pieces on top of the cheesecake before baking for added texture and flavor.
- Ingredient swaps: For a gluten-free version, use gluten-free graham crackers or substitute the crust with a nut-based crust. You can also use different types of nut butter, like almond or cashew butter, for a unique flavor.
Troubleshooting
- Texture problems: If your cheesecake turns out too dense, it might be due to overmixing. If it’s too dry, it could be overbaked. Adjust your mixing and baking time accordingly for future attempts.
- Ingredient replacements: Always try to use the ingredients called for in the recipe, but if you need to make substitutions, do so carefully. Some ingredients, like cream cheese, are crucial to the texture and flavor of the cheesecake.
- Over/undercooking signs: Check your cheesecake frequently during the baking time. If the edges are set and the center is just slightly jiggly, it’s done. If it starts to brown too much or crack, it might be overcooked.
FAQs
- Can I freeze it? Yes, the cheesecake can be frozen for up to 2 months. Wrap it tightly and thaw in the refrigerator when you’re ready to serve.
- Is it gluten-free? The traditional recipe uses graham cracker crumbs, which contain gluten. However, you can easily make a gluten-free version by substituting the crust with a gluten-free alternative.
- Can I double the recipe? Yes, you can double the recipe to make a larger cheesecake. Just keep in mind that you’ll need a larger pan and possibly a bit more baking time. Monitor the cheesecake closely to avoid overcooking.
Conclusion
The Peanut Butter & Jelly Cheesecake is a fun and creative dessert that’s sure to please both kids and adults. With its simple ingredients and straightforward instructions, it’s a great project for beginner bakers or anyone looking to try something new. Don’t be afraid to experiment with different flavors and toppings to make the recipe your own. Whether you’re serving it at a family dinner, a potluck, or just enjoying a slice (or two) by yourself, this cheesecake is sure to bring a smile to everyone’s face. So go ahead, get baking, and enjoy the delightful combination of peanut butter and jelly in a whole new way!
Peanut Butter & Jelly Cheesecake (No-Fuss, All Flavor!)
A creamy and delicious cheesecake that combines the flavors of peanut butter and jelly, perfect for any occasion.
🥘 Ingredients
👩🍳 Instructions
-
1Preheat oven to 325°F (165°C).
-
2Prepare the graham cracker crust and bake for 10 minutes.
-
3Mix the cheesecake batter and pour into the prepared pan.
-
4Dollop the jelly on top and create a swirly design.
-
5Bake the cheesecake for 55-60 minutes or until the edges are set and the center is just slightly jiggly.
-
6Let the cheesecake cool in the pan for 1 hour before releasing the springform and cooling completely on a wire rack.