Soft Caramel Chocolate Chip Cookies Recipe
Introduction
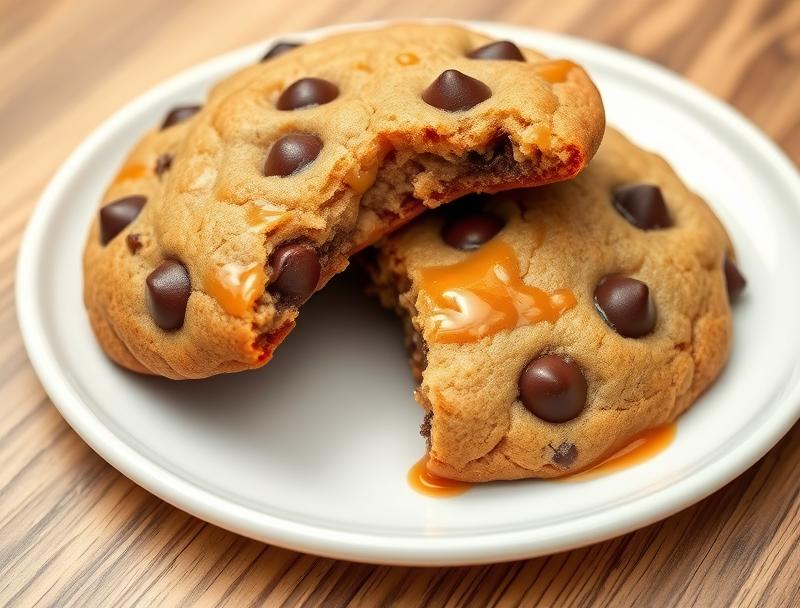
Imagine sinking your teeth into a soft, chewy cookie filled with gooey caramel and rich chocolate chips. This Soft Caramel Chocolate Chip Cookies Recipe is a dream come true for anyone with a sweet tooth. The best part? It’s incredibly easy to make and requires only a few everyday ingredients. With this recipe, you’ll be able to create a batch of delicious cookies that are perfect for snacking, gift-giving, or serving at your next gathering. So, let’s get started and see how you can bring these mouthwatering treats to life in your own kitchen.
Why This Works
- The combination of caramel and chocolate chips creates a perfect balance of flavors that will satisfy any sweet craving.
- This recipe is incredibly easy to prepare, requiring only a few simple ingredients and basic kitchen equipment.
- Despite its simplicity, this recipe yields impressive results, with soft, chewy cookies that are filled with gooey caramel and rich chocolate chips.
Ingredients
- 2 1/4 cups all-purpose flour
- 1 tsp baking soda
- 1 tsp salt
- 1 cup unsalted butter, at room temperature
- 3/4 cup white granulated sugar
- 3/4 cup brown sugar
- 2 large eggs
- 2 cups semi-sweet chocolate chips
- 1 cup caramel bits
- 1 tsp pure vanilla extract
Instructions
- Step 1: Preheat your oven to 375°F (190°C). Line a baking sheet with parchment paper or a silicone mat.
- Step 2: In a medium-sized bowl, whisk together the flour, baking soda, and salt. Set aside.
- Step 3: In a large bowl, use an electric mixer to cream together the butter and sugars until light and fluffy, about 2-3 minutes.
- Step 4: Beat in the eggs one at a time, followed by the vanilla extract.
- Step 5: Gradually mix in the dry ingredients (flour, baking soda, and salt) until just combined, being careful not to overmix.
- Step 6: Stir in the chocolate chips and caramel bits.
- Step 7: Use a cookie scoop or tablespoon to drop rounded balls of dough onto the prepared baking sheet, leaving about 2 inches of space between each cookie.
- Step 8: Bake for 12-14 minutes, or until the edges are lightly golden brown and the centers are set.
- Step 9: Remove the cookies from the oven and let them cool on the baking sheet for 5 minutes before transferring them to a wire rack to cool completely.
Handy Tips
- Make sure to use room temperature butter for the best results.
- Don’t overbake the cookies – they should be lightly golden brown and still slightly soft in the center.
- If you want a chewier cookie, bake for 10-11 minutes. If you prefer a crisper cookie, bake for 14-15 minutes.
Heat Control
When baking the cookies, it’s essential to keep an eye on the temperature and timing. The ideal temperature for baking these cookies is 375°F (190°C), and the baking time will depend on your personal preference for chewiness or crispiness. As a general rule, bake the cookies for 12-14 minutes, or until the edges are lightly golden brown and the centers are set.
Crunch Factor
The crunch factor in these cookies comes from the caramel bits and chocolate chips. To achieve the perfect crunch, make sure to not overmix the dough, and don’t overbake the cookies. This will help preserve the texture of the caramel and chocolate, giving you a deliciously crunchy and chewy cookie.
Pro Kitchen Tricks
- Use a combination of white and brown sugar to create a richer flavor profile.
- Add a sprinkle of sea salt on top of the cookies before baking for an extra touch of flavor and texture.
- Chill the dough for 30 minutes to an hour before baking to help the cookies retain their shape and bake up with a better texture.
Storage Tips
- Store the cookies in an airtight container at room temperature for up to 5 days.
- Freeze the cookies for up to 2 months – simply place them in a single layer in a freezer-safe bag or container and thaw at room temperature when you’re ready to enjoy.
- Reheat the cookies in the microwave for 10-15 seconds to restore their soft and chewy texture.
Gift Packaging Ideas
These cookies are perfect for gift-giving, and with a little creativity, you can make them look and feel like a professional bakery treat. Try packaging the cookies in a decorative tin or jar, or wrap them individually in plastic wrap or cellophane bags and tie with a ribbon. You could also include a gift tag or card with a personal message to make the gift even more special.
Flavor Variations
- Try adding a teaspoon of espresso powder to the dough for a mocha-flavored cookie.
- Swap out the semi-sweet chocolate chips for milk chocolate or white chocolate for a different flavor profile.
- Add some chopped nuts (walnuts or pecans work well) to the dough for added texture and flavor.
Troubleshooting
- If your cookies are too hard or crunchy, try baking them for a minute or two less next time.
- If your cookies are too soft or underbaked, try baking them for a minute or two longer next time.
- If you find that your cookies are spreading too much during baking, try chilling the dough for 30 minutes to an hour before baking to help them retain their shape.
FAQs
- Can I freeze the dough instead of the baked cookies? Yes, you can freeze the dough for up to 2 months. Simply scoop the dough into balls, place them on a baking sheet lined with parchment paper, and freeze until solid. Then, transfer the frozen dough balls to a freezer-safe bag or container and bake as needed.
- Are these cookies gluten-free? No, these cookies contain all-purpose flour and are not gluten-free. However, you can try substituting the flour with a gluten-free flour blend to make a gluten-free version.
- Can I double the recipe? Yes, you can easily double the recipe to make a larger batch of cookies. Just keep in mind that you may need to adjust the baking time slightly.
Conclusion
And there you have it – a simple yet delicious recipe for Soft Caramel Chocolate Chip Cookies that’s perfect for any occasion. Whether you’re a seasoned baker or a beginner in the kitchen, this recipe is sure to become a favorite. So go ahead, get baking, and enjoy the ooey-gooey caramel and rich chocolate chips in every bite. Don’t forget to share your creations with friends and family, and feel free to experiment with different flavor variations and toppings to make the recipe your own.