Classic Tuna Melt Grilled Sandwiches Recipe You’ll Love
Introduction
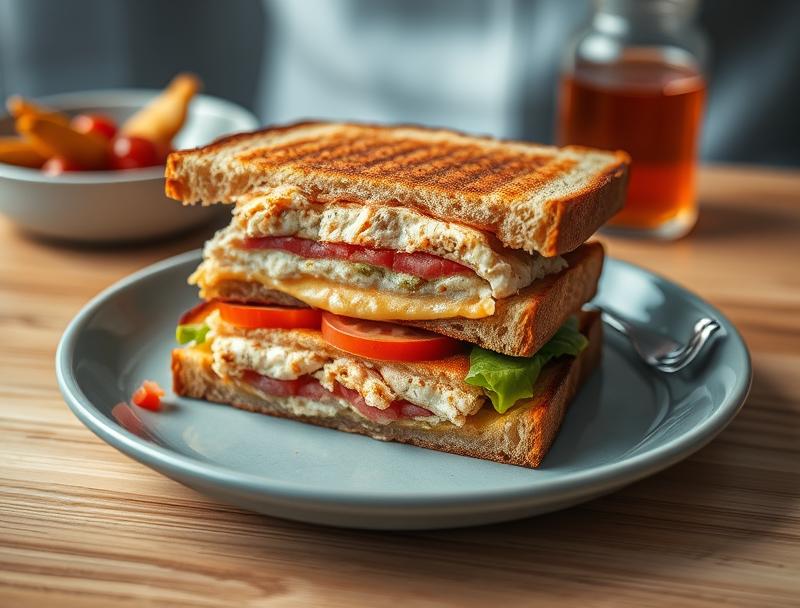
The classic tuna melt is a staple of comfort food, offering a delicious blend of flavors and textures that can be easily customized to suit any taste. This recipe for classic tuna melt grilled sandwiches is designed to be easy to follow, using everyday ingredients to create a dish that is both satisfying and impressive. With its perfect balance of protein, cheese, and crunchy bread, this tuna melt is sure to become a favorite in your household. Whether you’re looking for a quick lunch or a satisfying dinner, this recipe is sure to hit the spot.
Why This Works
- Flavor balance and ingredient accessibility: This recipe combines the richness of tuna with the creaminess of cheese and the crunch of bread, making for a well-rounded flavor profile. Plus, all the ingredients are easily found in most supermarkets.
- Ease of preparation: The tuna melt is incredibly simple to prepare, requiring just a few minutes of chopping and mixing before being grilled to perfection.
- Impressive results with minimal effort: Despite its ease of preparation, the tuna melt is sure to impress friends and family with its golden-brown bread and gooey, melted cheese.
Ingredients
- 1 (12 oz) can of tuna in water, drained and flaked
- 2 tablespoons mayonnaise
- 1 tablespoon chopped onion
- 1 tablespoon chopped celery
- 1 tablespoon grated cheddar cheese
- 1 teaspoon Dijon mustard
- 1/2 teaspoon salt
- 1/4 teaspoon black pepper
- 4 slices of bread (white or whole wheat)
- 2 tablespoons butter, divided
- 2 slices of American cheese (or other melting cheese)
- Lettuce, tomato, and pickles for garnish (optional)
Instructions
- Step 1: In a medium-sized bowl, combine the flaked tuna, mayonnaise, chopped onion, chopped celery, grated cheddar cheese, Dijon mustard, salt, and black pepper. Mix well until all the ingredients are fully incorporated.
- Step 2: Butter one side of each slice of bread. Place two slices of bread, buttered side down, in a large skillet or griddle over medium heat.
- Step 3: Spoon the tuna mixture onto the bread slices in the skillet, leaving a small border around the edges. Place one slice of American cheese on top of the tuna mixture on each bread slice.
- Step 4: Place the remaining two slices of bread, buttered side up, on top of the cheese. Cook for 2-3 minutes or until the bread is golden brown and the cheese is melted. Carefully flip the sandwiches over and cook for an additional 2-3 minutes or until the other side is also golden brown.
Handy Tips
- Use high-quality ingredients: Fresh, flavorful ingredients will make a big difference in the taste of your tuna melt. Choose a good-quality canned tuna and fresh vegetables for the best results.
- Don’t overfill the sandwiches: Leave a small border around the edges of the bread to prevent the filling from spilling out during cooking.
- Experiment with different cheeses: While American cheese is a classic choice for tuna melts, you can also try using cheddar, Swiss, or provolone for a different flavor.
Heat Control
When cooking the tuna melt, it’s essential to control the heat to prevent burning the bread or undercooking the filling. Medium heat is usually the best choice, as it allows for a gentle cooking process that melts the cheese and toasts the bread to perfection. If you notice the bread starting to brown too quickly, reduce the heat to prevent burning.
Crunch Factor
The crunch factor is an essential aspect of the tuna melt, providing a satisfying texture contrast to the soft bread and cheese. To achieve the perfect crunch, make sure to butter the bread slices generously before cooking. You can also add some crunchy elements to the filling, such as chopped celery or onion, to add texture and flavor.
Pro Kitchen Tricks
- Use a panini press: If you have a panini press, use it to cook the tuna melts. The press will help to evenly distribute the heat and pressure, resulting in a crispy, well-cooked sandwich.
- Add some spice: If you like a little heat in your tuna melt, try adding some diced jalapenos or red pepper flakes to the filling.
- Get creative with the bread: Instead of using plain white bread, try using a crusty sourdough or a flavorful whole wheat bread to add more texture and flavor to the sandwich.
Storage Tips
- Store leftovers in an airtight container: If you have leftover tuna melt, store it in an airtight container in the refrigerator for up to 24 hours. Reheat it in the microwave or oven until the cheese is melted and the bread is toasted.
- Freeze for later: You can also freeze the tuna melt filling for up to 2 months. Simply thaw it overnight in the refrigerator and assemble the sandwiches as usual.
- Use a thermally insulated bag: If you need to transport the tuna melts, use a thermally insulated bag to keep them warm and crispy.
Gift Packaging Ideas
If you want to give the tuna melt as a gift, consider packaging it in a cute basket or container with some crunchy snacks, such as chips or crackers, and a side of coleslaw or salad. You can also add a personalized note or card to make it a more thoughtful gift.
Flavor Variations
- Different spices: Try adding some dried herbs, such as thyme or oregano, to the filling for a unique flavor.
- Creative toppings: Add some sliced tomatoes, lettuce, or pickles to the sandwich for extra flavor and texture.
- Ingredient swaps: Substitute the tuna with chicken or turkey for a different protein source, or use a different type of cheese, such as Swiss or provolone, for a unique flavor.
Troubleshooting
- Texture problems: If the bread is too crispy or the filling is too dry, adjust the cooking time or add more mayonnaise to the filling.
- Ingredient replacements: If you don’t have mayonnaise, try using sour cream or Greek yogurt as a substitute. If you don’t have cheddar cheese, use another type of cheese, such as American or Swiss.
- Over/undercooking signs: If the bread is too brown or the cheese is not melted, adjust the cooking time or heat. If the filling is too dry or the bread is too crispy, add more mayonnaise or adjust the cooking time.
FAQs
- Can I freeze it? Yes, you can freeze the tuna melt filling for up to 2 months. Simply thaw it overnight in the refrigerator and assemble the sandwiches as usual.
- Is it gluten-free? No, this recipe contains bread, which contains gluten. However, you can substitute the bread with gluten-free bread for a gluten-free version.
- Can I double the recipe? Yes, you can double the recipe to make more sandwiches. Simply multiply the ingredients and adjust the cooking time as needed.
Conclusion
In conclusion, the classic tuna melt grilled sandwich is a delicious and easy-to-make recipe that is perfect for a quick lunch or dinner. With its perfect balance of flavors and textures, it’s sure to become a favorite in your household. Don’t be afraid to experiment with different ingredients and flavor variations to make it your own. Whether you’re a busy professional or a parent looking for a quick and easy meal, this recipe is sure to hit the spot. So go ahead, give it a try, and enjoy the ooey-gooey cheese and crunchy bread of the classic tuna melt!
Classic Tuna Melt Grilled Sandwiches Recipe You’ll Love
A classic tuna melt recipe with a perfect balance of flavors and textures, made with everyday ingredients and easy to customize.
🥘 Ingredients
👩🍳 Instructions
-
1In a medium-sized bowl, combine the flaked tuna, mayonnaise, chopped onion, chopped celery, grated cheddar cheese, Dijon mustard, salt, and black pepper. Mix well until all the ingredients are fully incorporated.
-
2Butter one side of each slice of bread. Place two slices of bread, buttered side down, in a large skillet or griddle over medium heat.
-
3Spoon the tuna mixture onto the bread slices in the skillet, leaving a small border around the edges. Place one slice of American cheese on top of the tuna mixture on each bread slice.
-
4Place the remaining two slices of bread, buttered side up, on top of the cheese. Cook for 2-3 minutes or until the bread is golden brown and the cheese is melted. Carefully flip the sandwiches over and cook for an additional 2-3 minutes or until the other side is also golden brown.