Decadent Red Velvet Cake with Dreamy Cream Cheese Frosting 🍰
Introduction
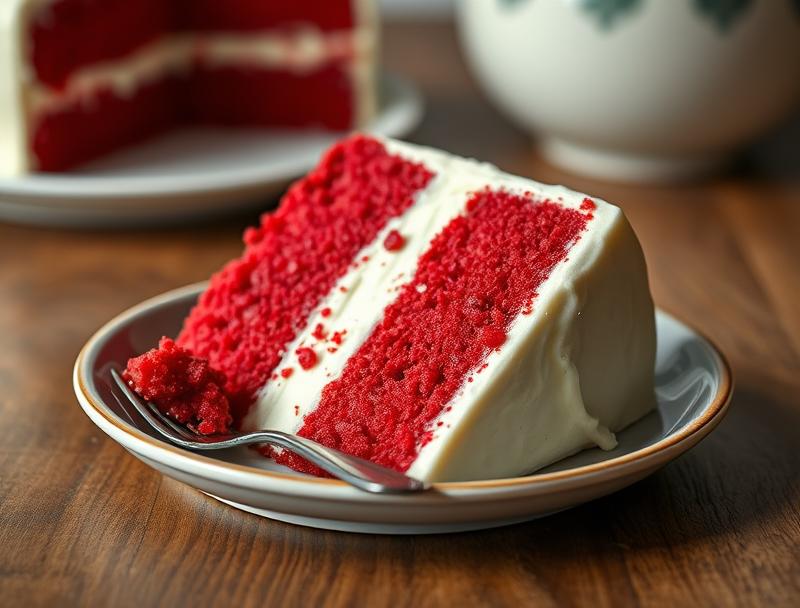
Indulge in the rich, velvety goodness of our Decadent Red Velvet Cake, perfectly paired with a Dreamy Cream Cheese Frosting. This mouthwatering dessert is not only a feast for the taste buds but also a masterpiece of textures and flavors. With its deep red color and subtle cocoa flavor, this cake is sure to impress anyone who tries it. The best part? It’s made with everyday ingredients and is surprisingly easy to prepare, making it perfect for both beginners and seasoned bakers. Whether you’re celebrating a special occasion or just satisfying your sweet tooth, this decadent cake is sure to become a favorite.
Why This Works
- The balance of flavors between the red velvet cake and the cream cheese frosting creates a delightful harmony that will leave you wanting more.
- The accessibility of the ingredients means you can whip up this cake without having to search for specialty stores or hard-to-find components.
- The ease of preparation belies the impressive results, making it a great choice for those looking to wow their friends and family without spending hours in the kitchen.
Ingredients
- 2 cups all-purpose flour
- 1 cup granulated sugar
- 2 teaspoons baking powder
- 1 teaspoon salt
- 1 cup unsalted butter, softened
- 2 large eggs
- 2 large egg yolks
- 2 teaspoons vanilla extract
- 1 cup buttermilk
- 1 teaspoon red food coloring
- 1 cup cream cheese, softened (for the frosting)
- 1/2 cup unsalted butter, softened (for the frosting)
- 2 cups powdered sugar (for the frosting)
- 1 teaspoon vanilla extract (for the frosting)
Instructions
- Step 1: Prepare the Cake – Preheat your oven to 350°F (180°C). Grease and flour two 9-inch round cake pans. In a medium bowl, whisk together flour, sugar, baking powder, and salt. In a large mixing bowl, use an electric mixer to beat the butter until creamy, then add eggs one at a time, beating well after each addition. Beat in the vanilla extract.
- Step 2: Combine Wet and Dry Ingredients – With the mixer on low speed, gradually add the flour mixture to the butter mixture in three parts, alternating with the buttermilk, beginning and ending with the flour mixture. Beat just until combined. Stir in the red food coloring.
- Step 3: Bake the Cakes – Divide the batter evenly between the prepared pans and smooth the tops. Bake for about 30-35 minutes or until a toothpick inserted into the center comes out clean. Let the cakes cool in the pans for 10 minutes, then transfer them to a wire rack to cool completely.
- Step 4: Prepare the Frosting – Beat the cream cheese and butter until smooth. Gradually add the powdered sugar, beating until smooth and creamy. Beat in the vanilla extract.
- Step 5: Assemble the Cake – Once the cakes are completely cool, place one layer on a serving plate and spread a thick layer of frosting on top. Place the second layer on top and frost the entire cake with the remaining frosting.
Handy Tips
- Make sure to not overmix the batter, as this can result in a dense cake.
- For a more intense red color, use high-quality red food coloring.
- Let the cakes cool completely before frosting to prevent the frosting from melting.
Heat Control
When baking the cakes, it’s crucial to maintain the correct oven temperature (350°F or 180°C) to ensure the cakes bake evenly and thoroughly. The baking time may vary depending on your oven, so keep an eye on the cakes after 25 minutes and check for doneness by inserting a toothpick into the center of each cake. If the toothpick comes out clean, the cakes are done.
Crunch Factor
This cake is all about the velvety texture, both from the cake itself and the cream cheese frosting. To maintain this texture, avoid overbaking the cakes, which can make them dry and crumbly. The frosting should be smooth and creamy, so make sure to beat it long enough to incorporate air and achieve the right consistency.
Pro Kitchen Tricks
- For an extra moist cake, try adding a teaspoon of instant coffee powder to the batter. The bitterness of the coffee will enhance the chocolate flavor without making the cake taste like coffee.
- Use room temperature ingredients for the best results, especially the butter and eggs, as this ensures they mix smoothly and evenly.
Storage Tips
- Store the cake in an airtight container at room temperature for up to 3 days.
- For longer storage, refrigerate the cake for up to 5 days. Let it come to room temperature before serving.
- The cake can also be frozen for up to 2 months. Thaw frozen cake overnight in the refrigerator and let it come to room temperature before serving.
Gift Packaging Ideas
This decadent cake makes a wonderful gift for any occasion. Consider packaging it in a decorative cake box or wrapping it in plastic wrap and then in a colorful towel or fabric, tied with a ribbon. You could also add a personal touch with a handwritten note or a small bouquet of flowers on top.
Flavor Variations
- Try adding different extracts like almond or coconut to the batter for a unique twist.
- Use different types of milk, such as almond or soy milk, for a non-dairy version.
- Experiment with various nuts or chocolate chips added to the batter for extra texture and flavor.
Troubleshooting
- If your cake turns out too dense, it might be due to overmixing the batter. Try mixing the wet and dry ingredients separately and gently folding them together.
- If the frosting is too runny, refrigerate it for about 10 minutes to firm it up before using.
- If you notice the cake starting to brown too quickly, cover the top with foil to prevent overbrowning.
FAQs
- Can I freeze the cake? Yes, the cake can be frozen for up to 2 months. It’s best to freeze it without the frosting and frost it after thawing.
- Is the cake gluten-free? No, this recipe includes all-purpose flour and is not gluten-free. However, you can experiment with gluten-free flours as a substitute.
- Can I double the recipe? Yes, you can double the recipe to make a larger cake. Just keep in mind that you might need to adjust the baking time slightly.
Conclusion
With its striking appearance and irresistible flavor, the Decadent Red Velvet Cake with Dreamy Cream Cheese Frosting is sure to become a staple in your baking repertoire. Whether you’re a seasoned baker or just starting out, this recipe is approachable and rewarding. Don’t be afraid to experiment with different flavors and decorations to make it your own. Share your creations with friends and family, and enjoy the joy of baking and the pleasure of indulging in something truly special.
Decadent Red Velvet Cake with Dreamy Cream Cheese Frosting
A moist and flavorful red velvet cake paired with a creamy cream cheese frosting, perfect for special occasions or everyday indulgence.
🥘 Ingredients
👩🍳 Instructions
-
1Preheat oven to 350°F. Prepare two 9-inch round cake pans.
-
2Mix the cake batter by combining dry ingredients and then adding wet ingredients, alternating with buttermilk.
-
3Divide the batter between the prepared pans and bake for 30-35 minutes or until a toothpick comes out clean.
-
4Prepare the cream cheese frosting by beating the cream cheese and butter, then gradually adding powdered sugar and vanilla extract.
-
5Assemble the cake by placing one layer on a serving plate, spreading frosting on top, and then placing the second layer on top. Frost the entire cake with the remaining frosting.